SAML SSO with Azure Active Directory (AD)
This article details how to configure Active Directory as the primary Identity Provider to facilitate SSO with the Prelim application for enterprise users.
Requirements
In order to proceed with configuring login with SSO through Active Directory, you must:
- Have access to a Microsoft Azure account with the permissions required to create and modify enterprise applications
- Have access to Prelim as an enterprise user with the SSO Admin permission
Configuration Steps
-
Sign in to your Azure account at https://portal.azure.com/
-
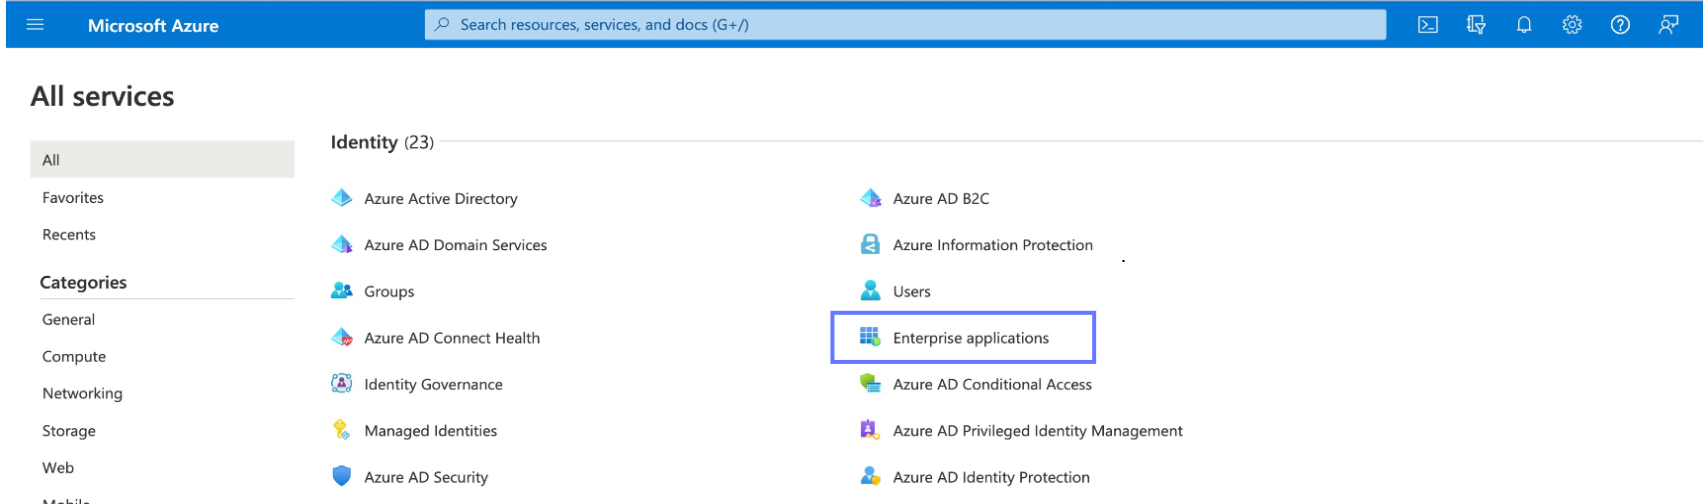
Navigate to the Enterprise Applications service, which can be found under the Identity category
-
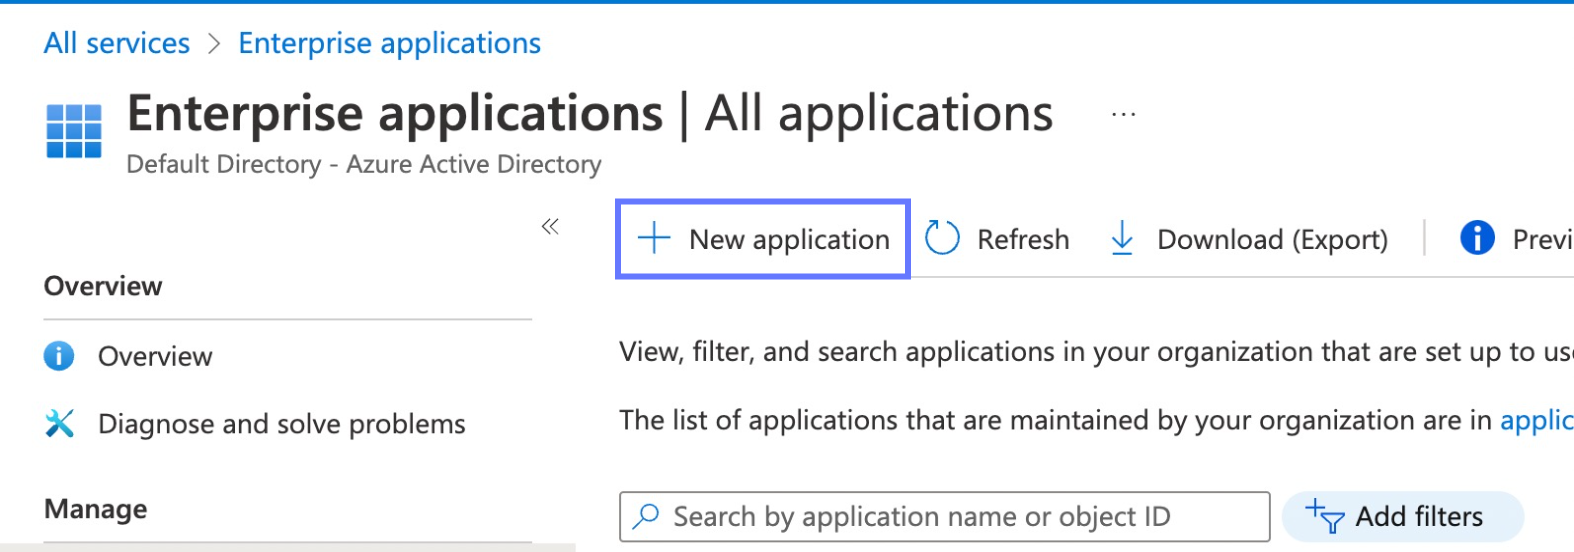
If you have not done so already, create a new enterprise application by clicking the + New Application button at the top of the page.
-
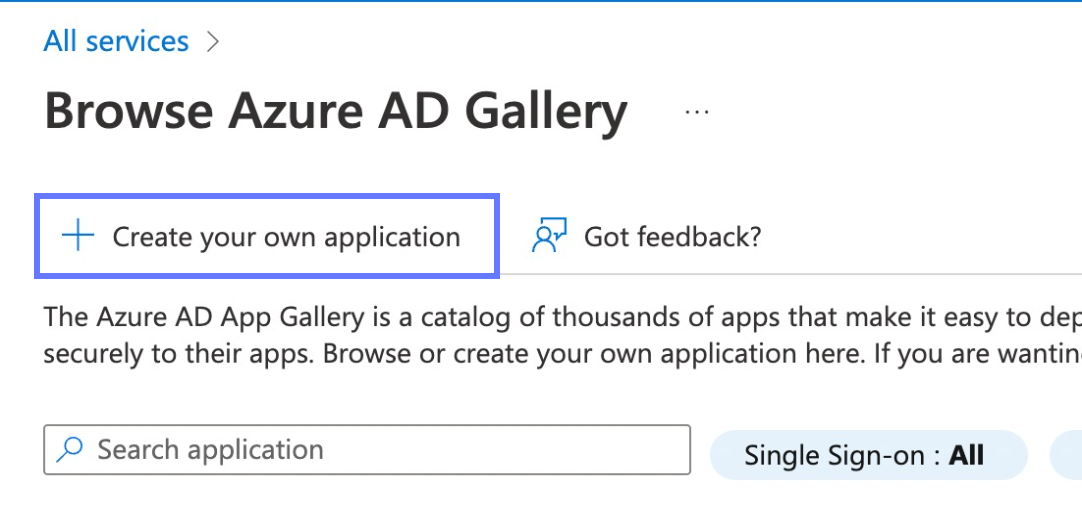
You will then be taken to the Browse Azure AD Gallery. Click the + Create your own application button at the top of this page.
-
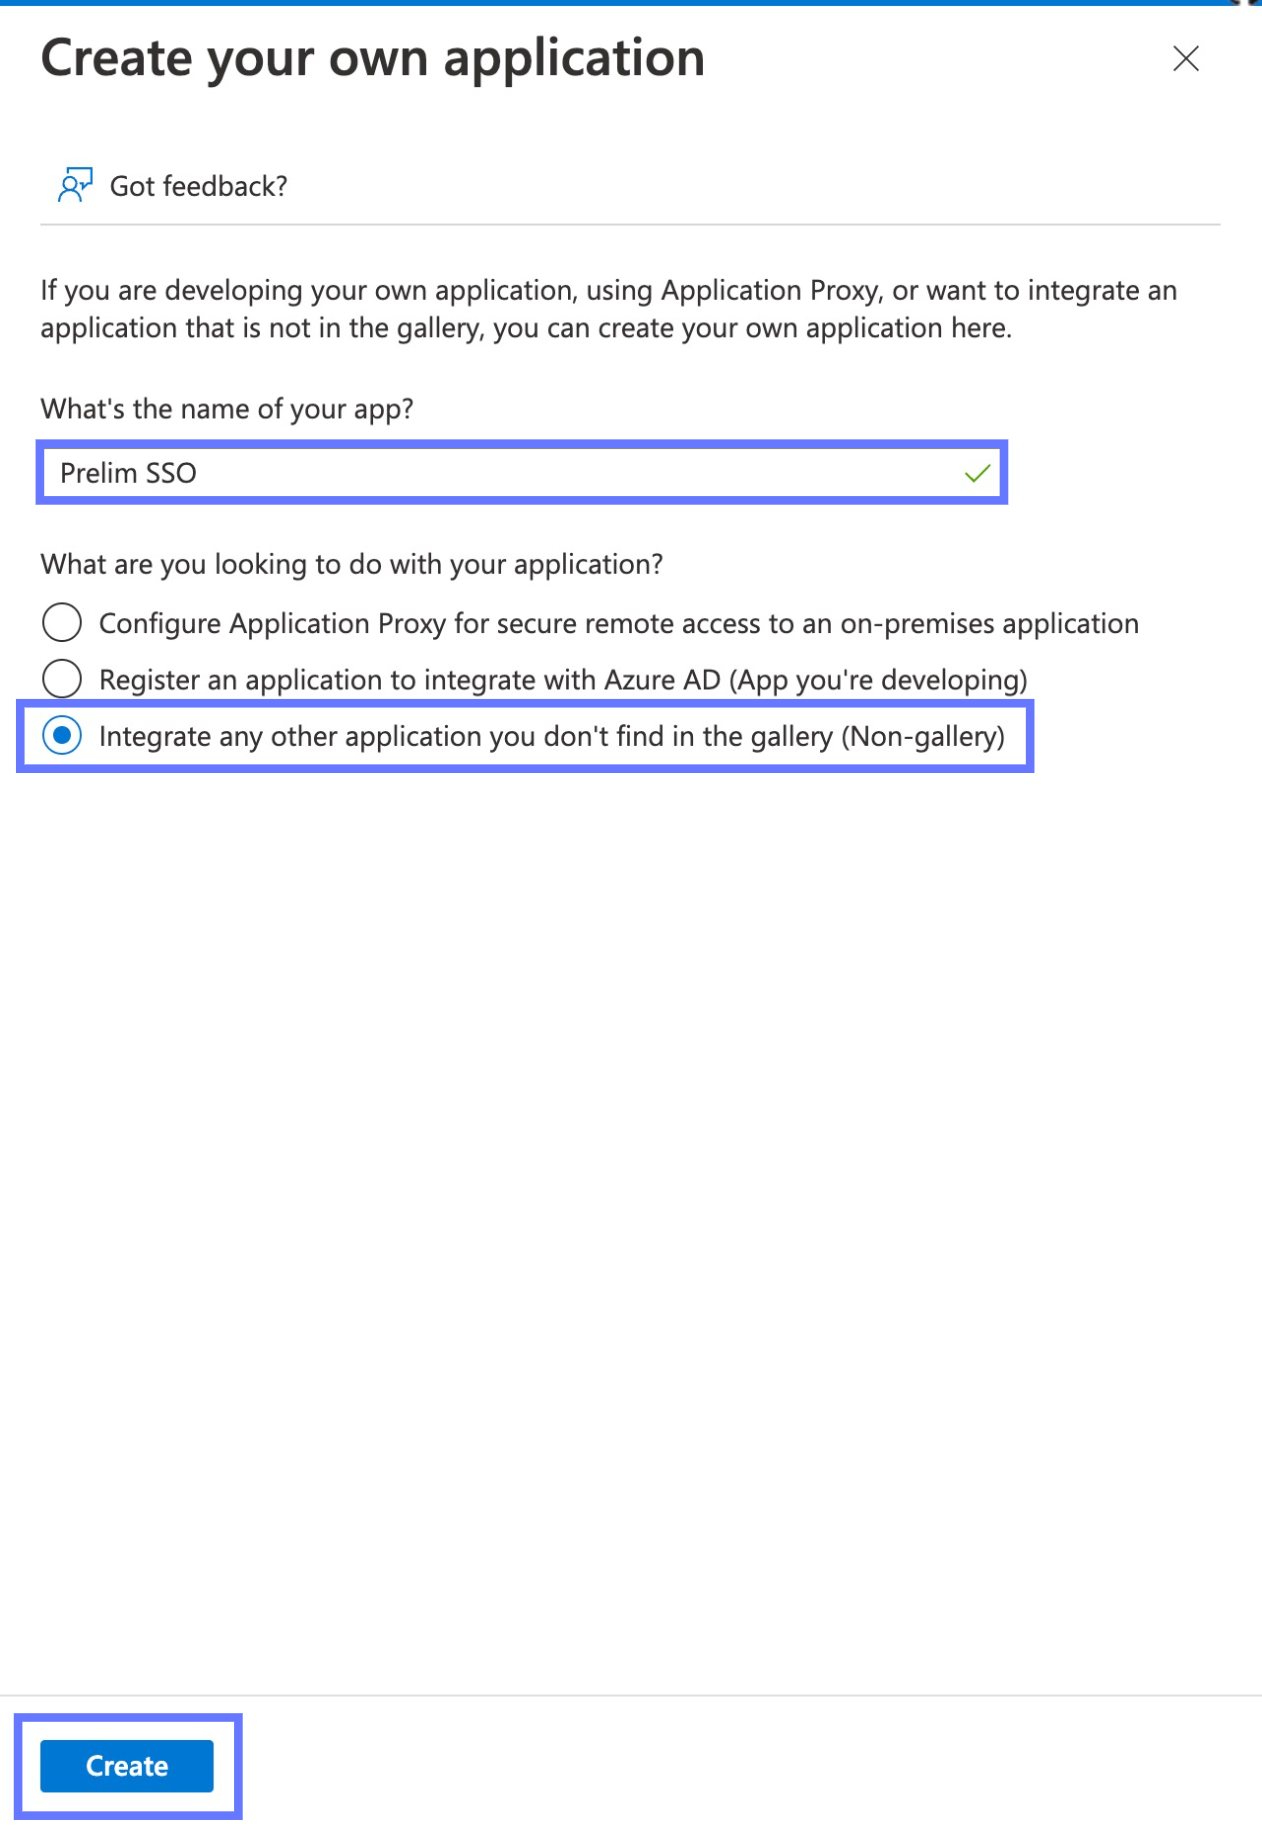
Name this app "Prelim SSO" and make sure the "Integrate any other application you don't find in the gallery (Non-gallery)" option is selected. Click the Create button. You may have to wait a few moments for the new application to be created.
-
-
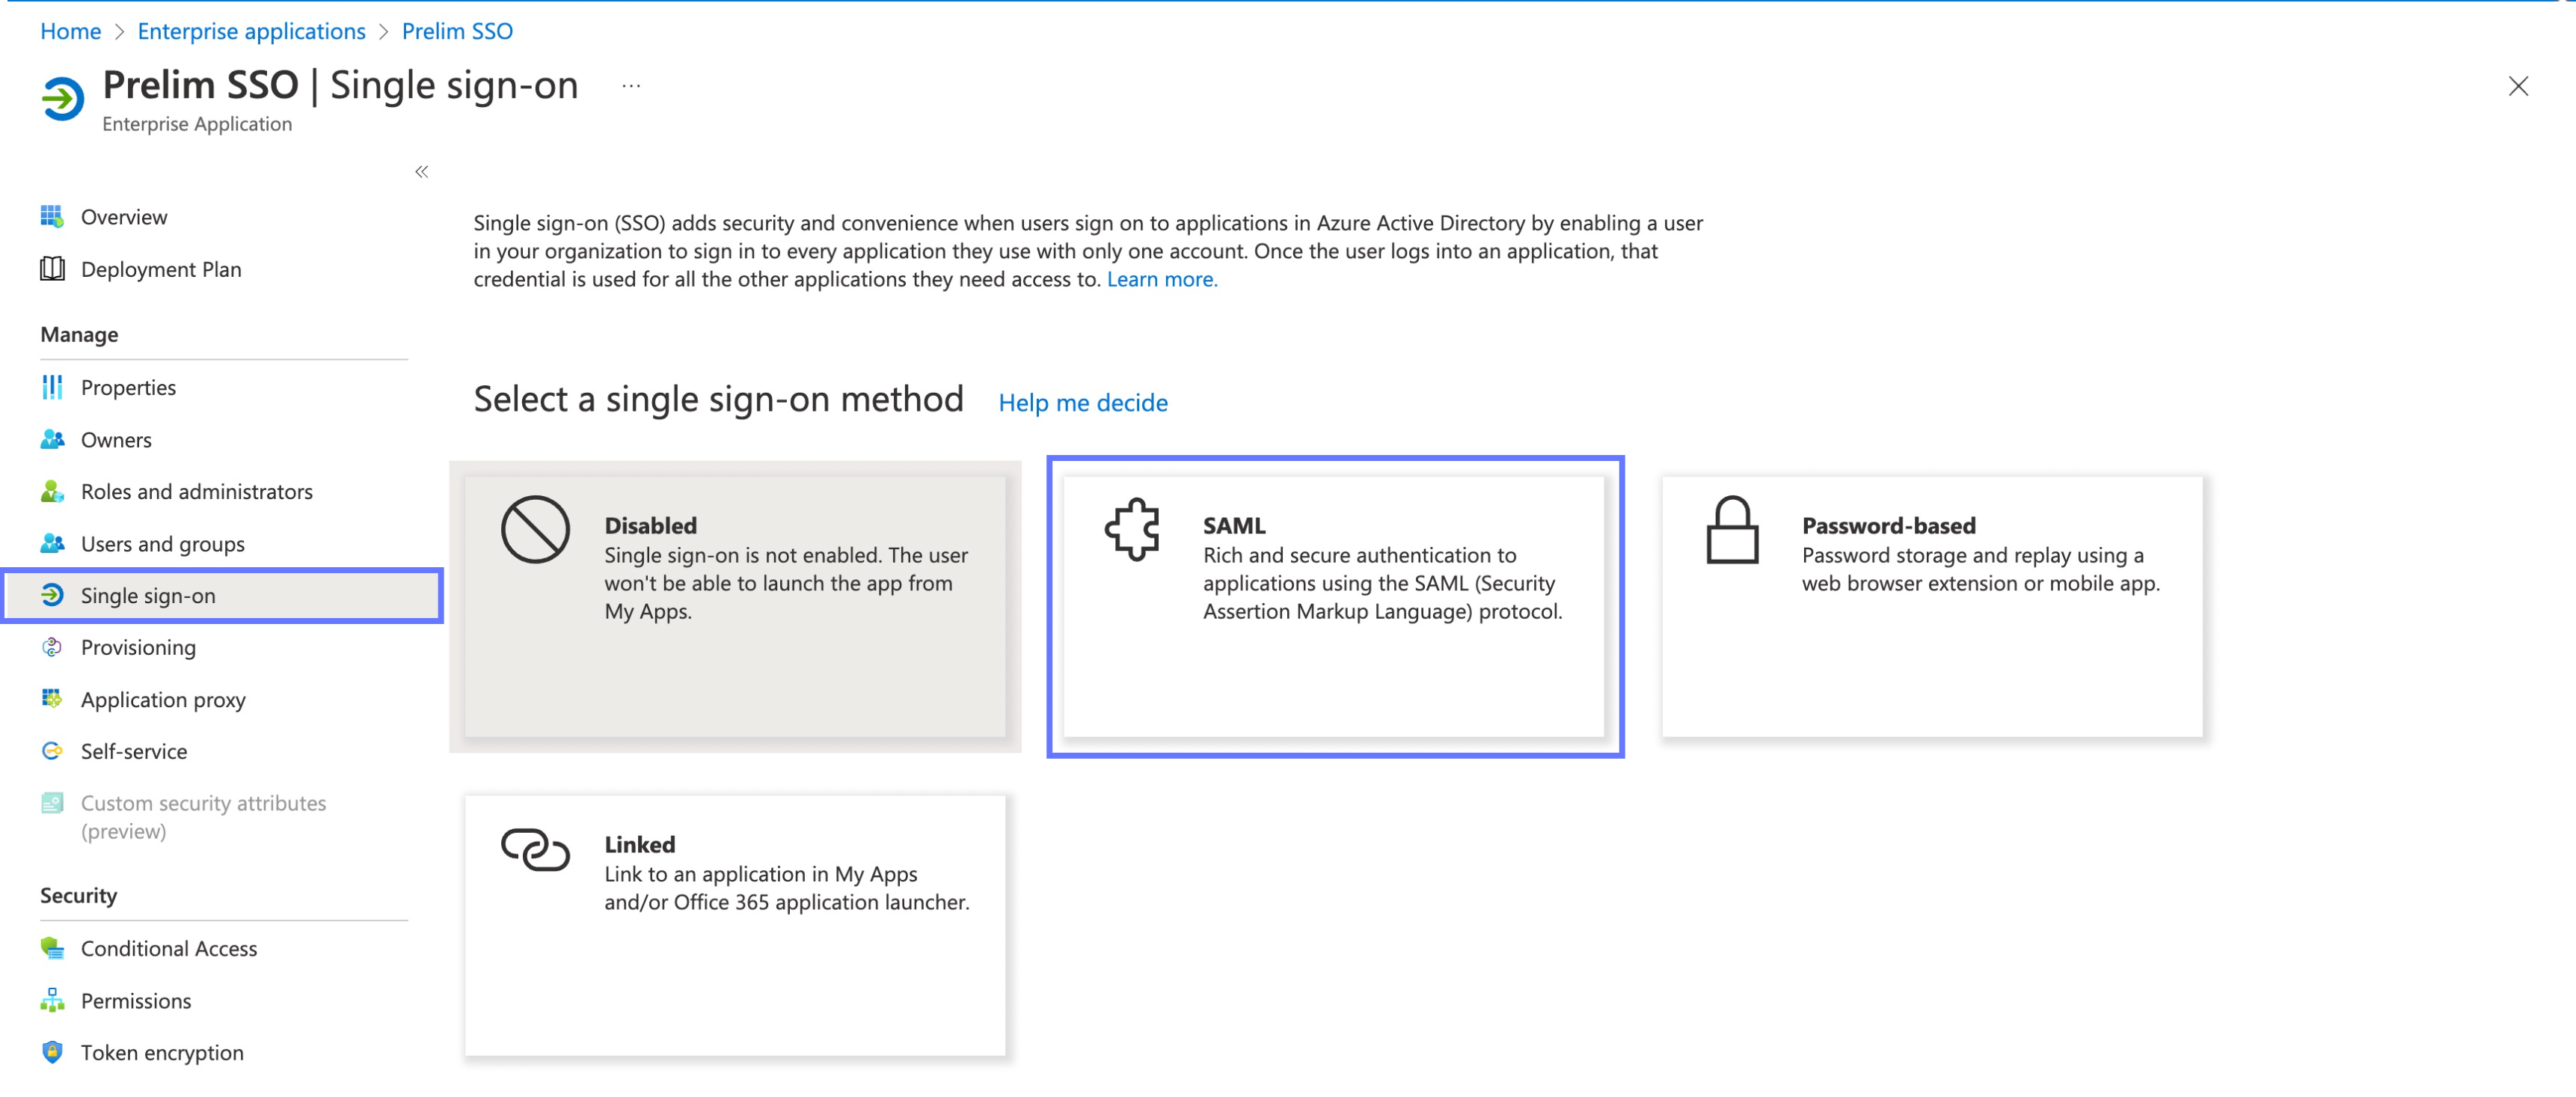
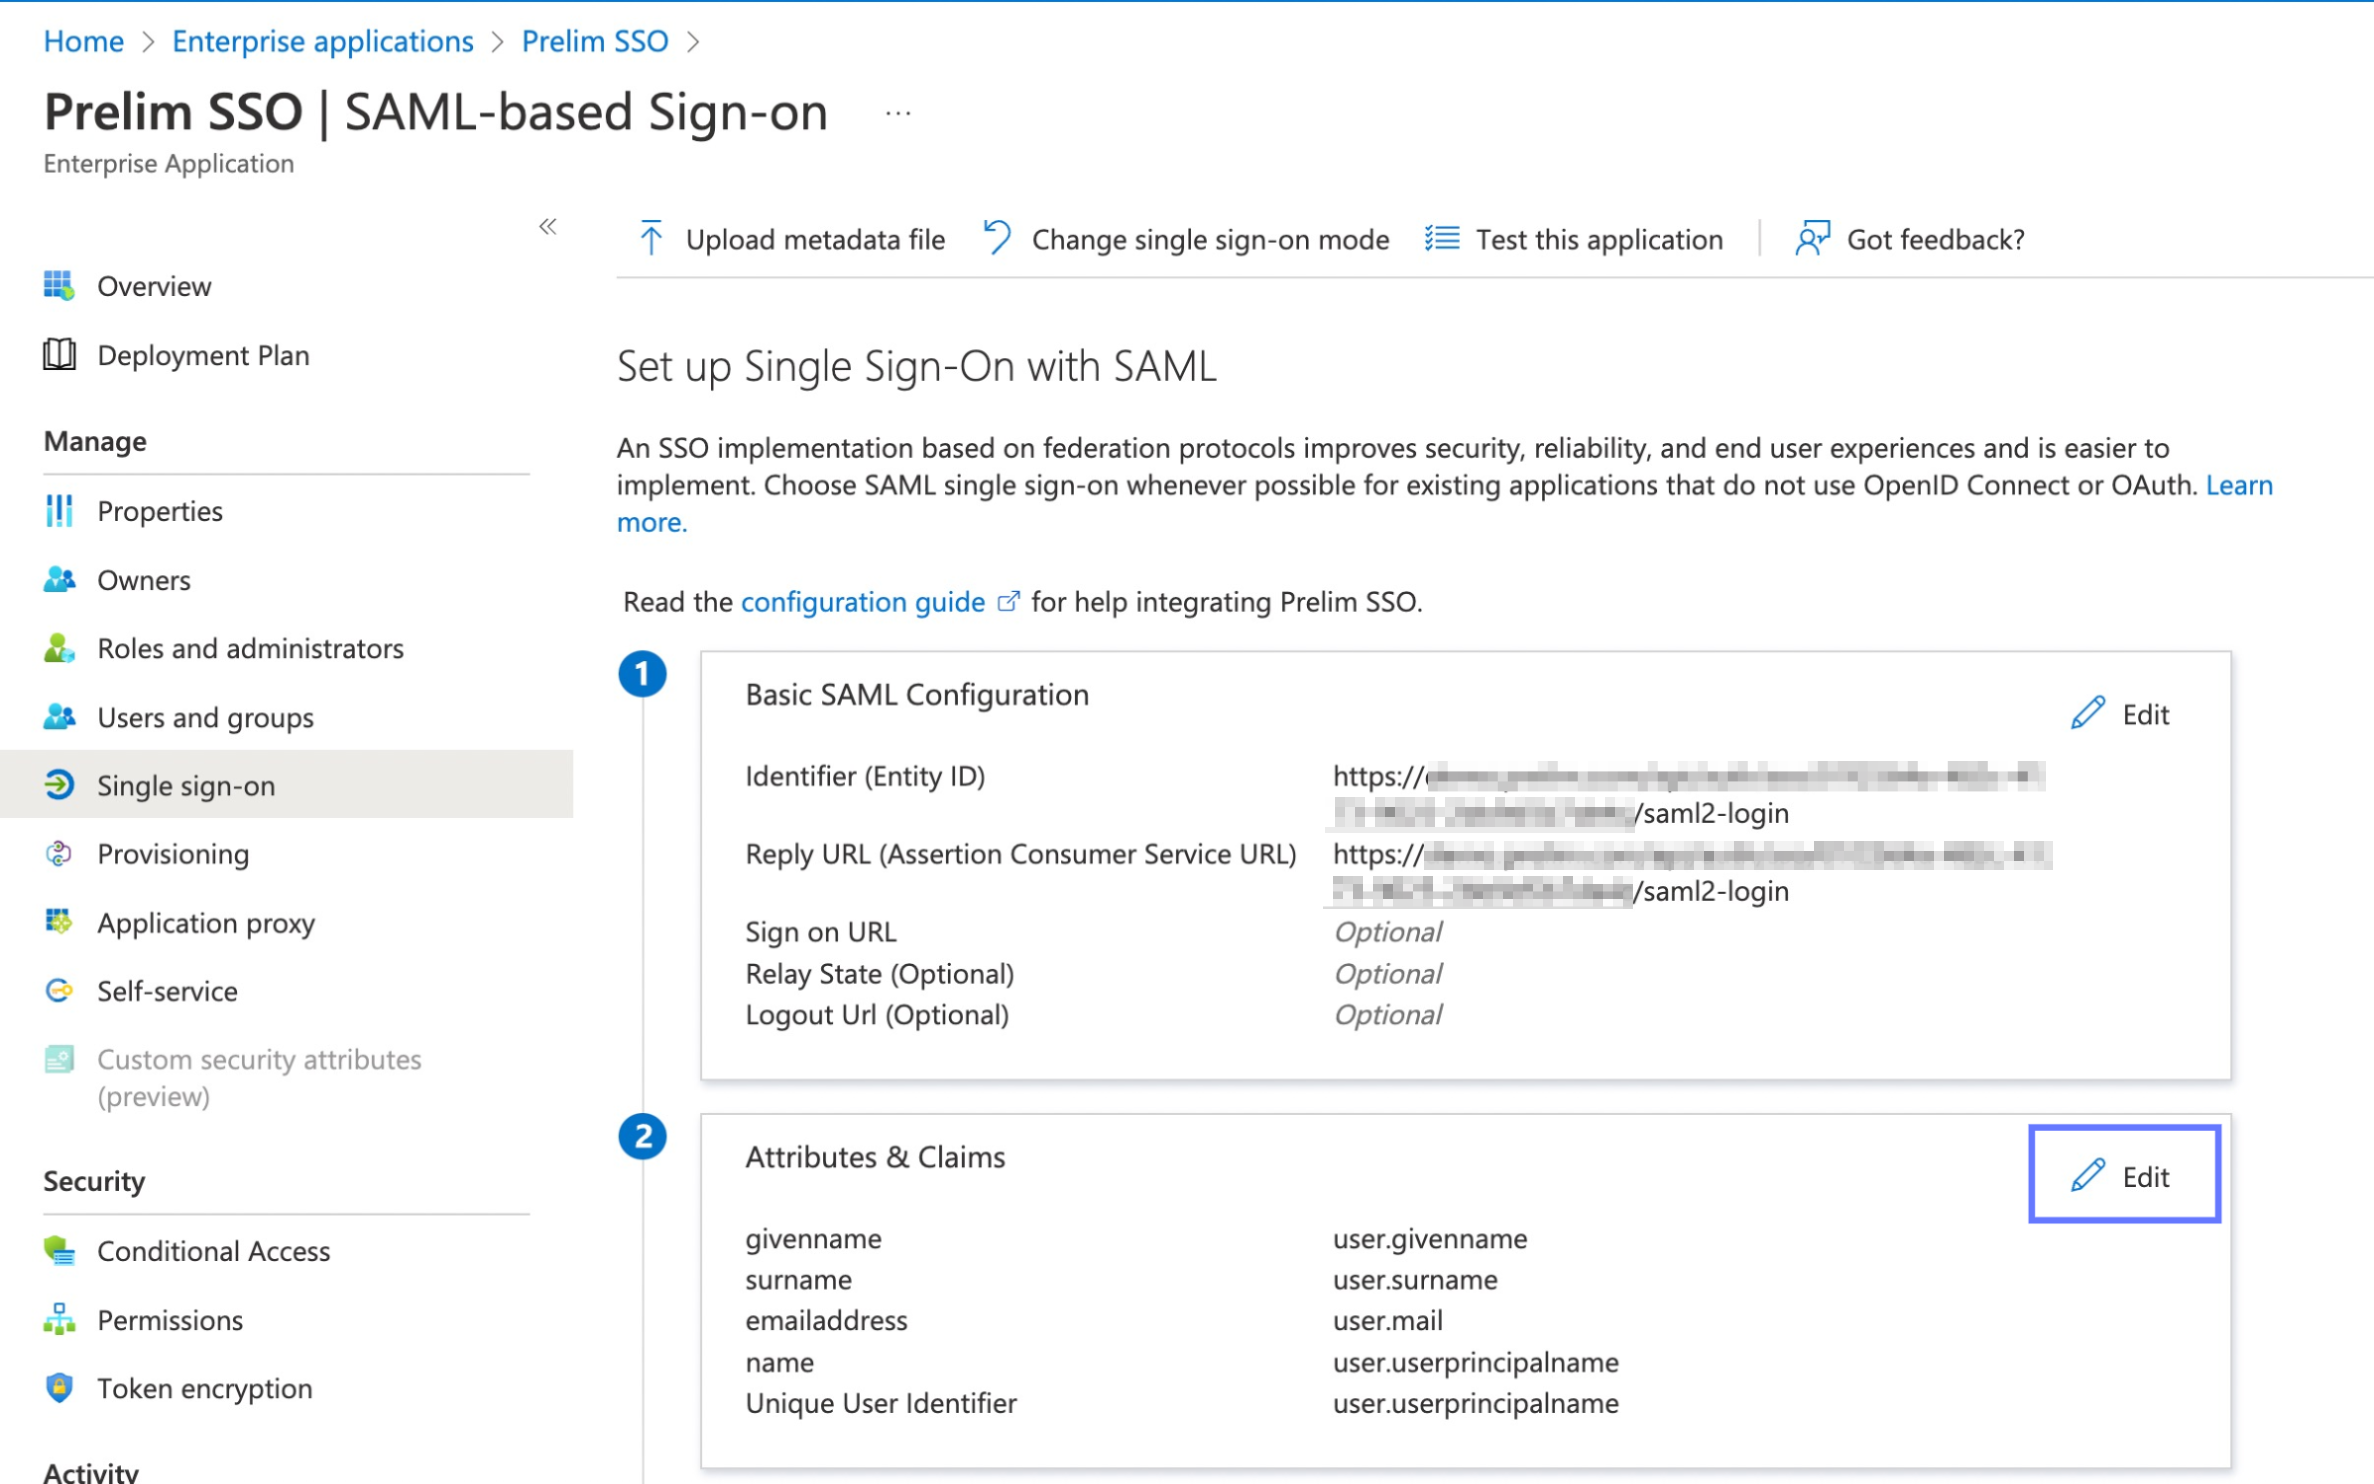
Select Single sign-on in the left sidebar under the manage tab, then select SAML as the single sign-on method.
-
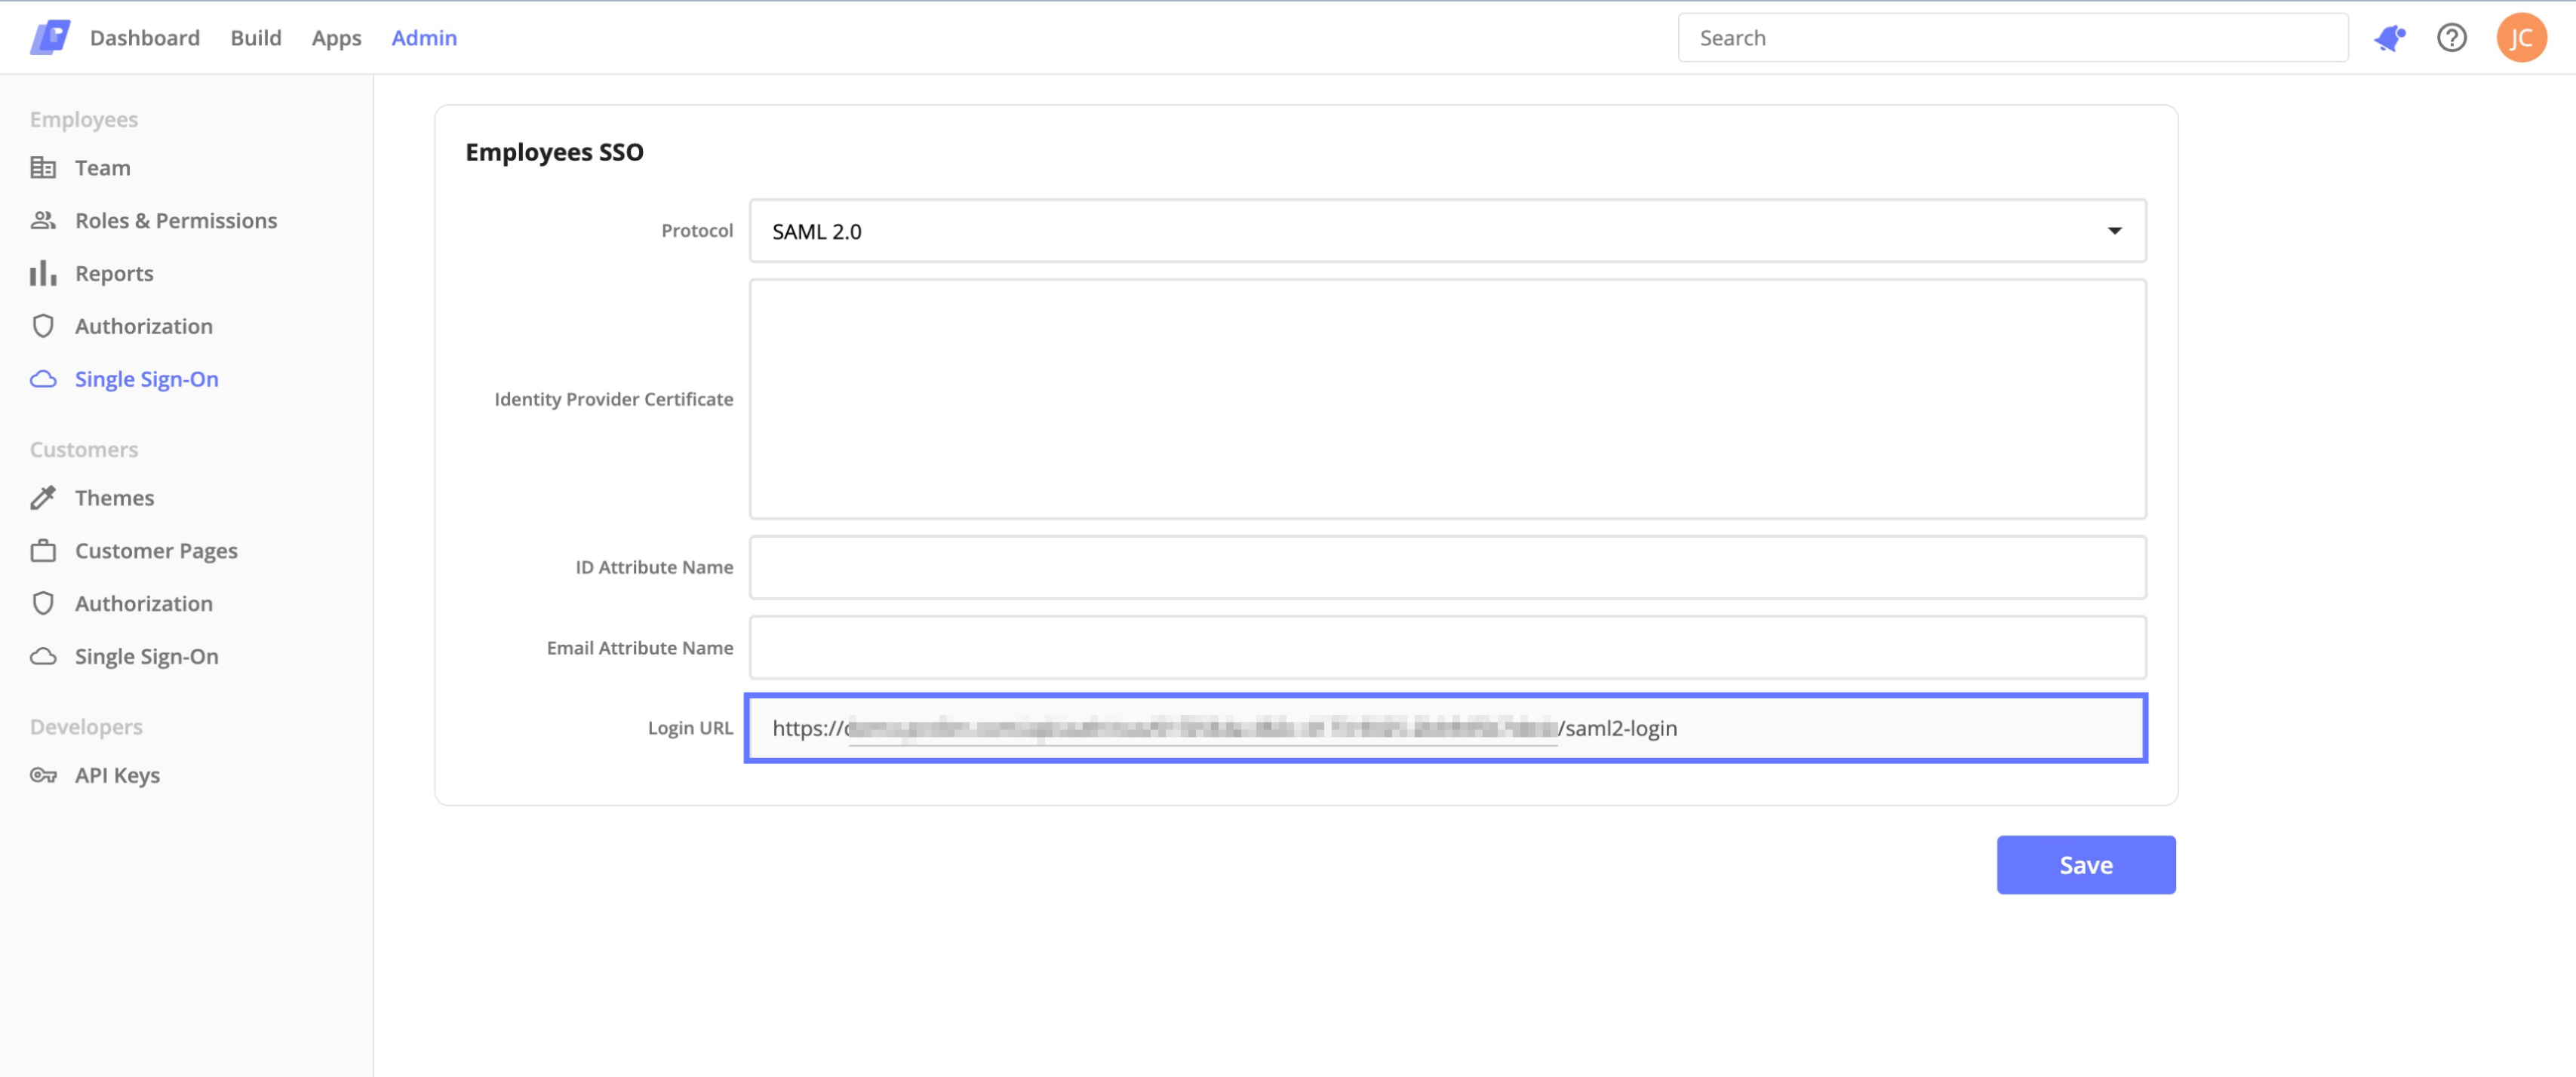
Now open the prelim app in a new tab or window. Sign in to your Prelim Admin Console and navigate to https://[hostName]/dashboard/organization/employee-sso where [hostName] is your Prelim host name.
-
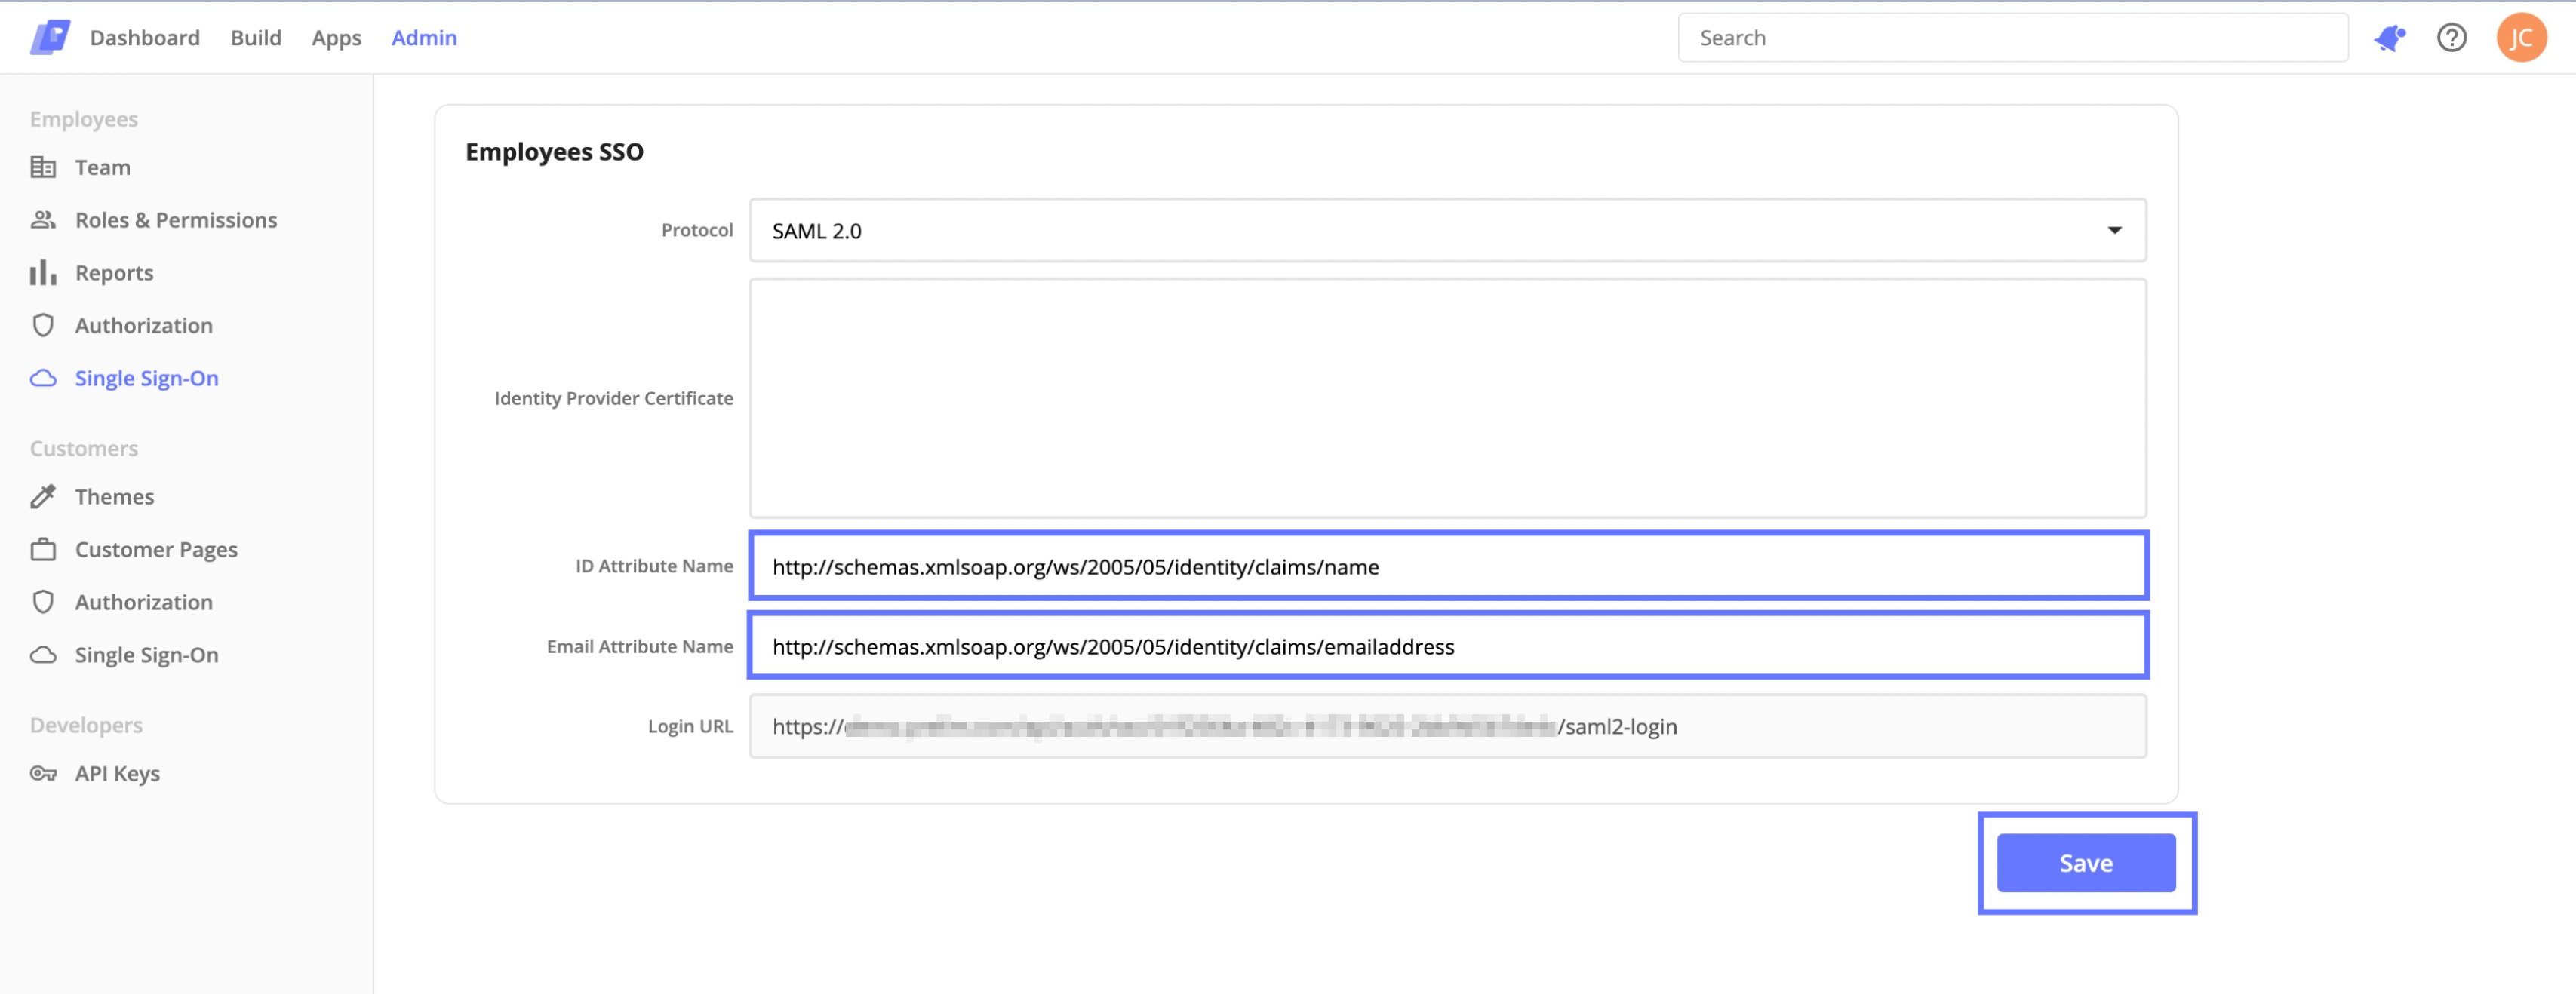
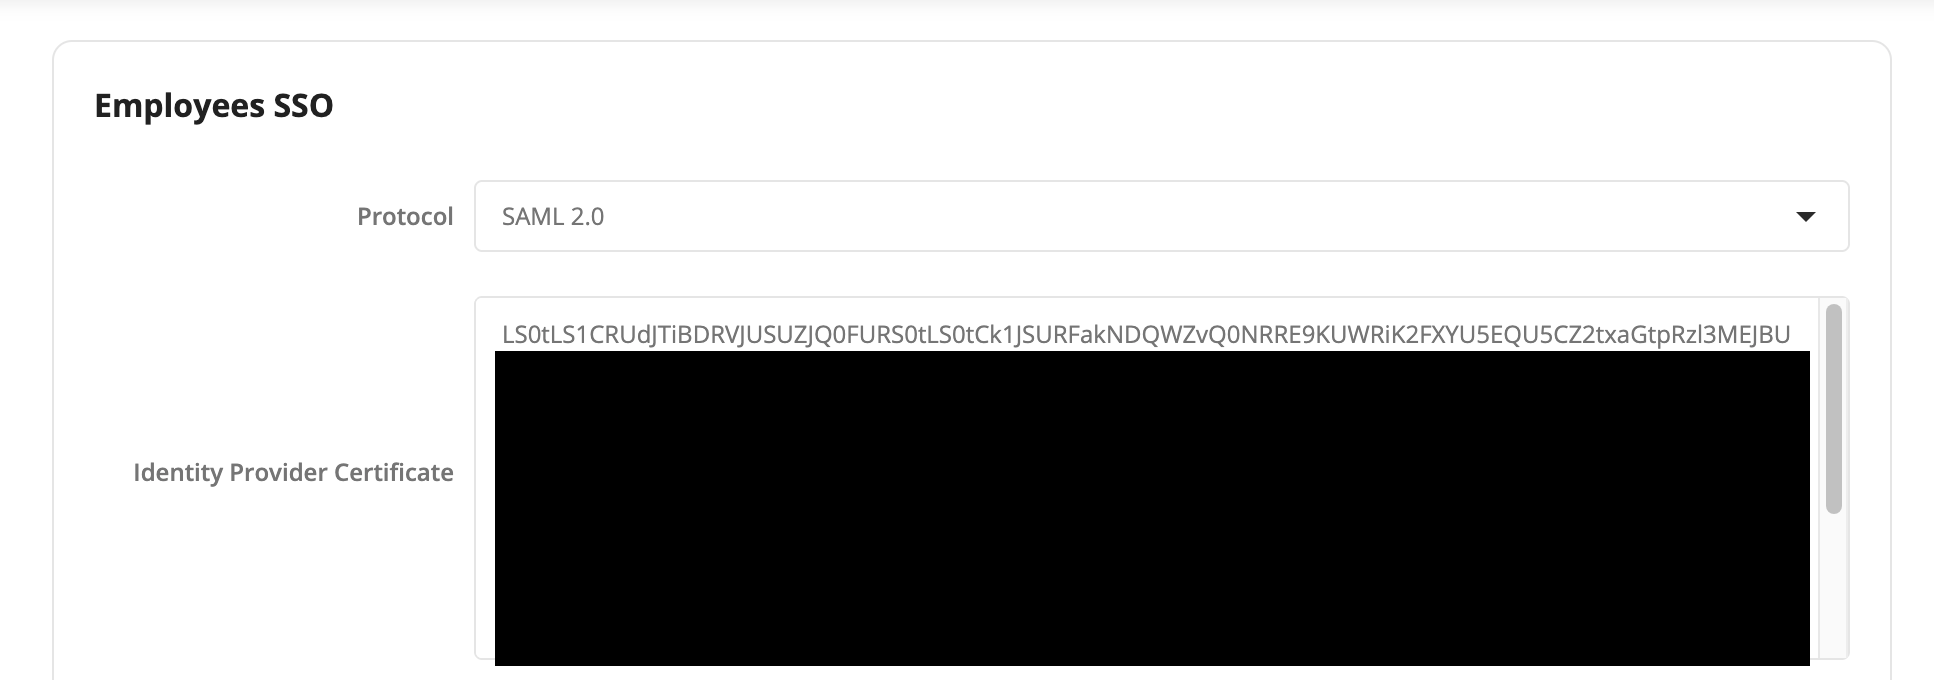
Select SAML 2.0 from the protocol dropdown menu. Copy the newly generated Login URL to your clipboard.
-
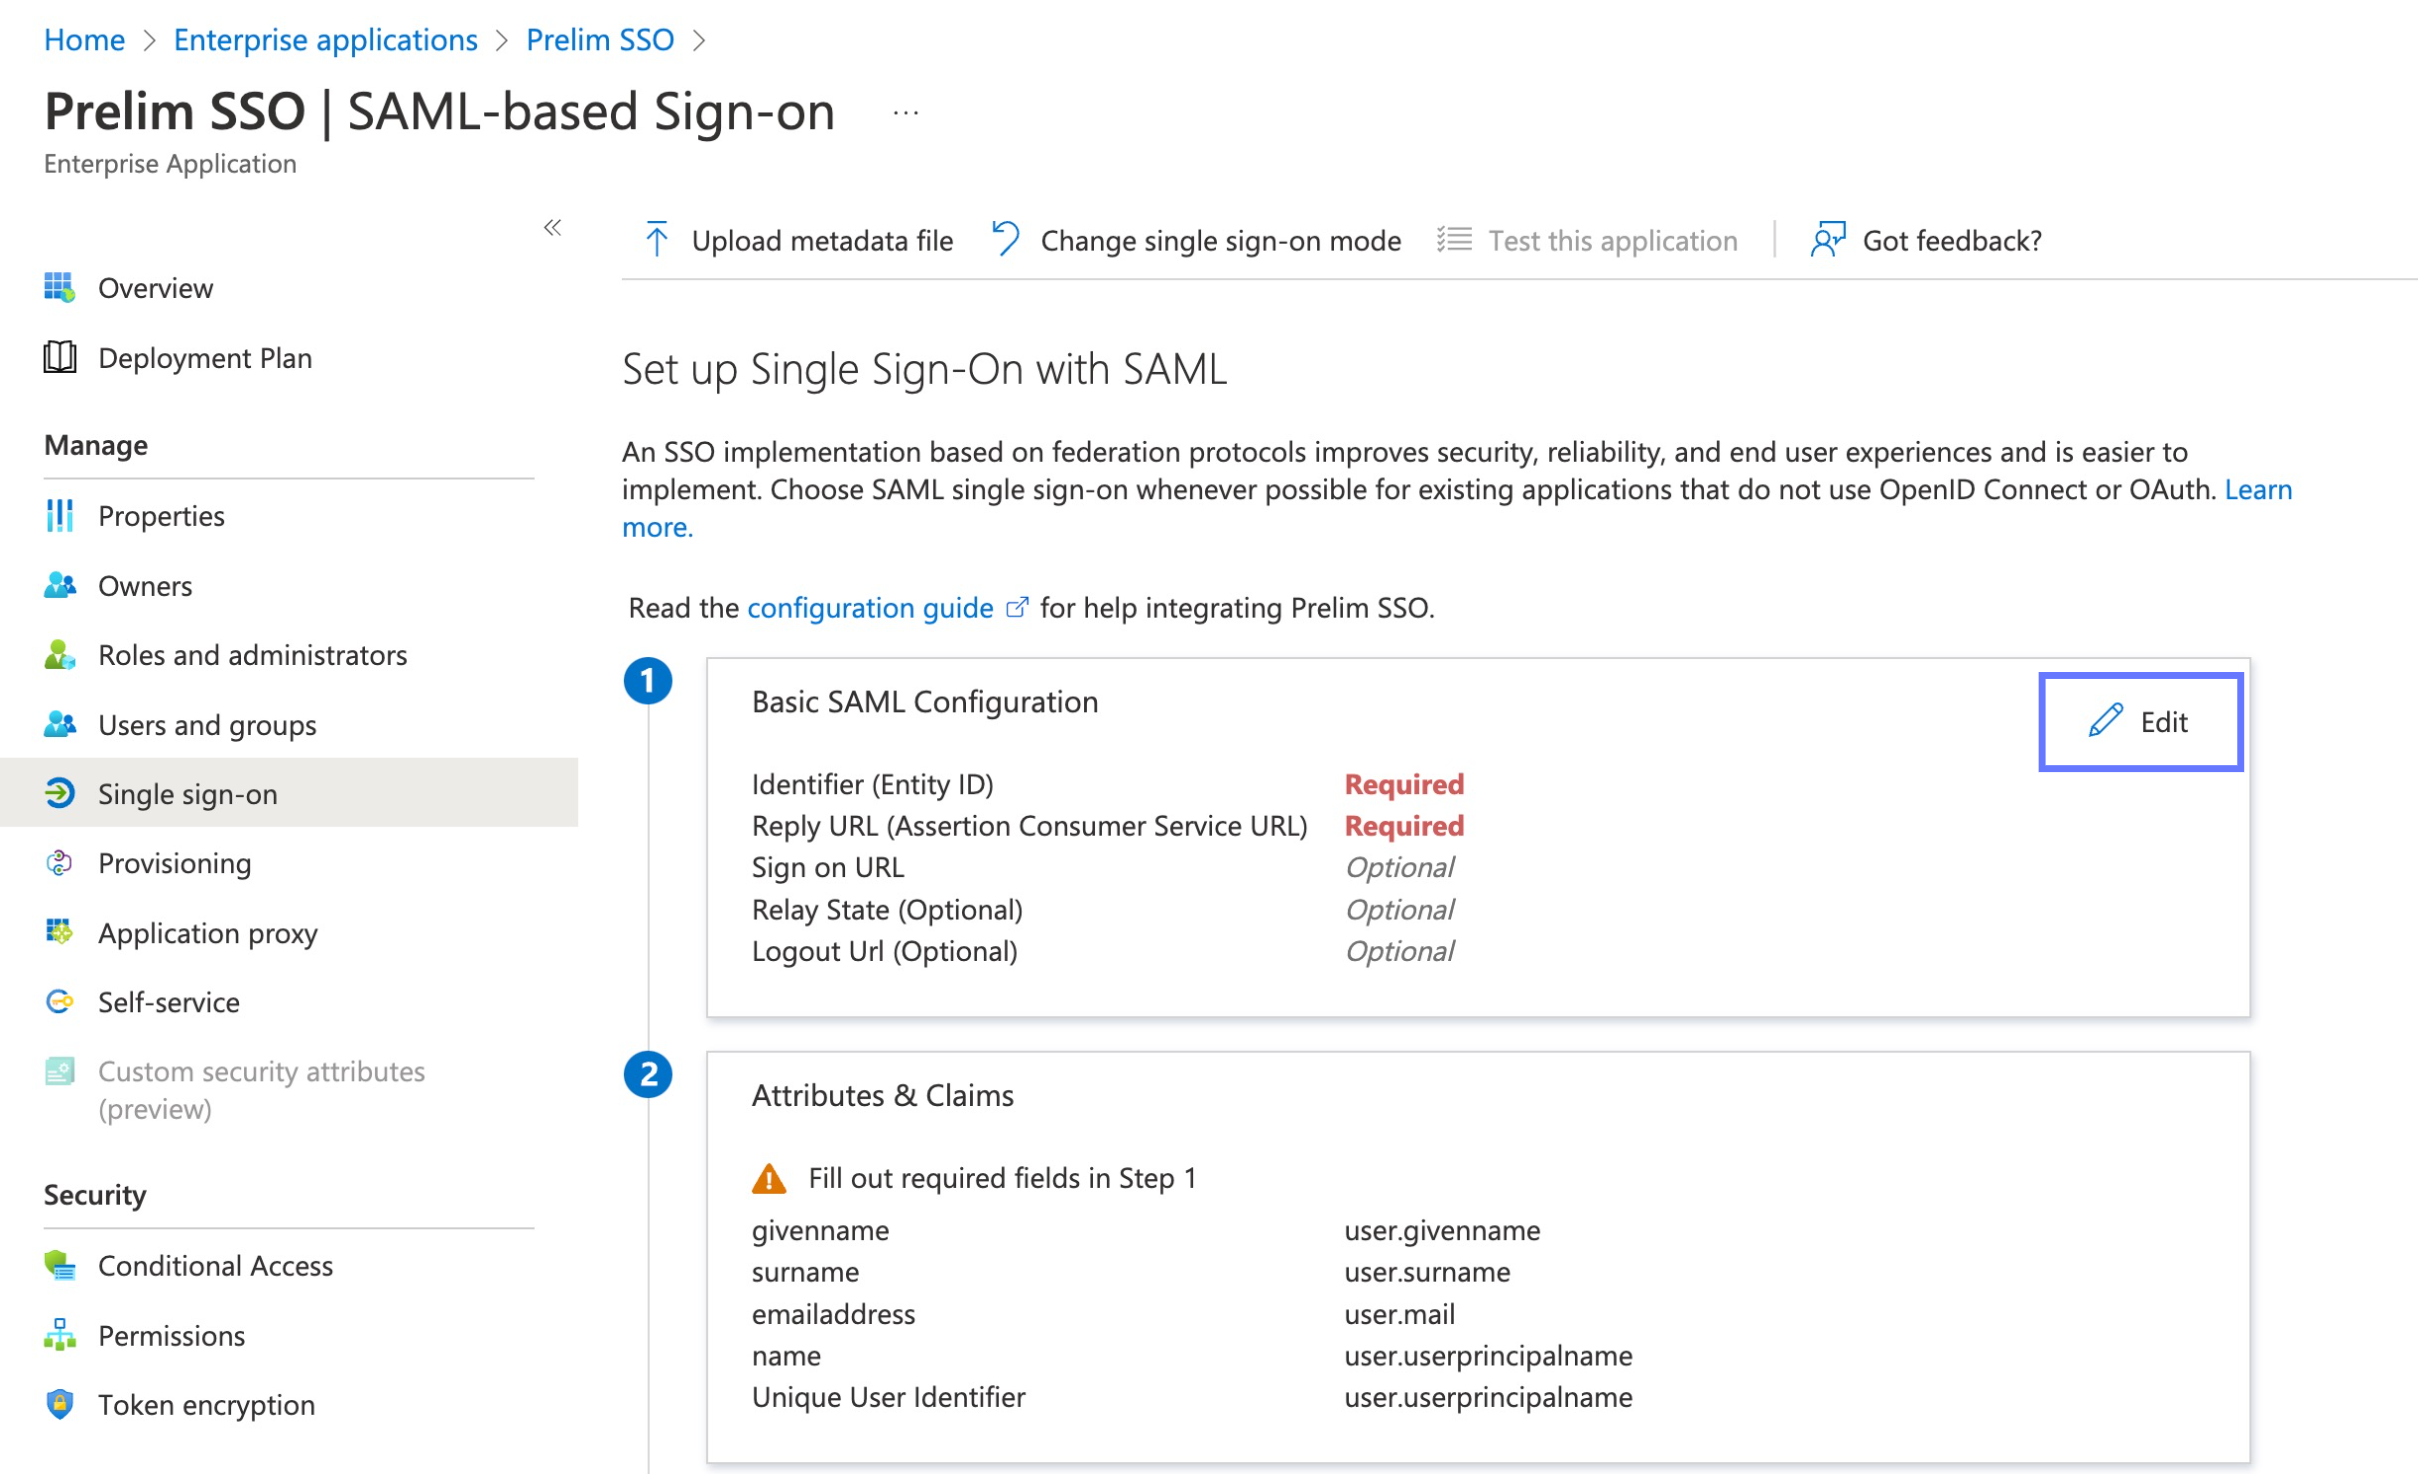
Return to the Azure portal and click on the edit button on the Basic SAML Configuration section.
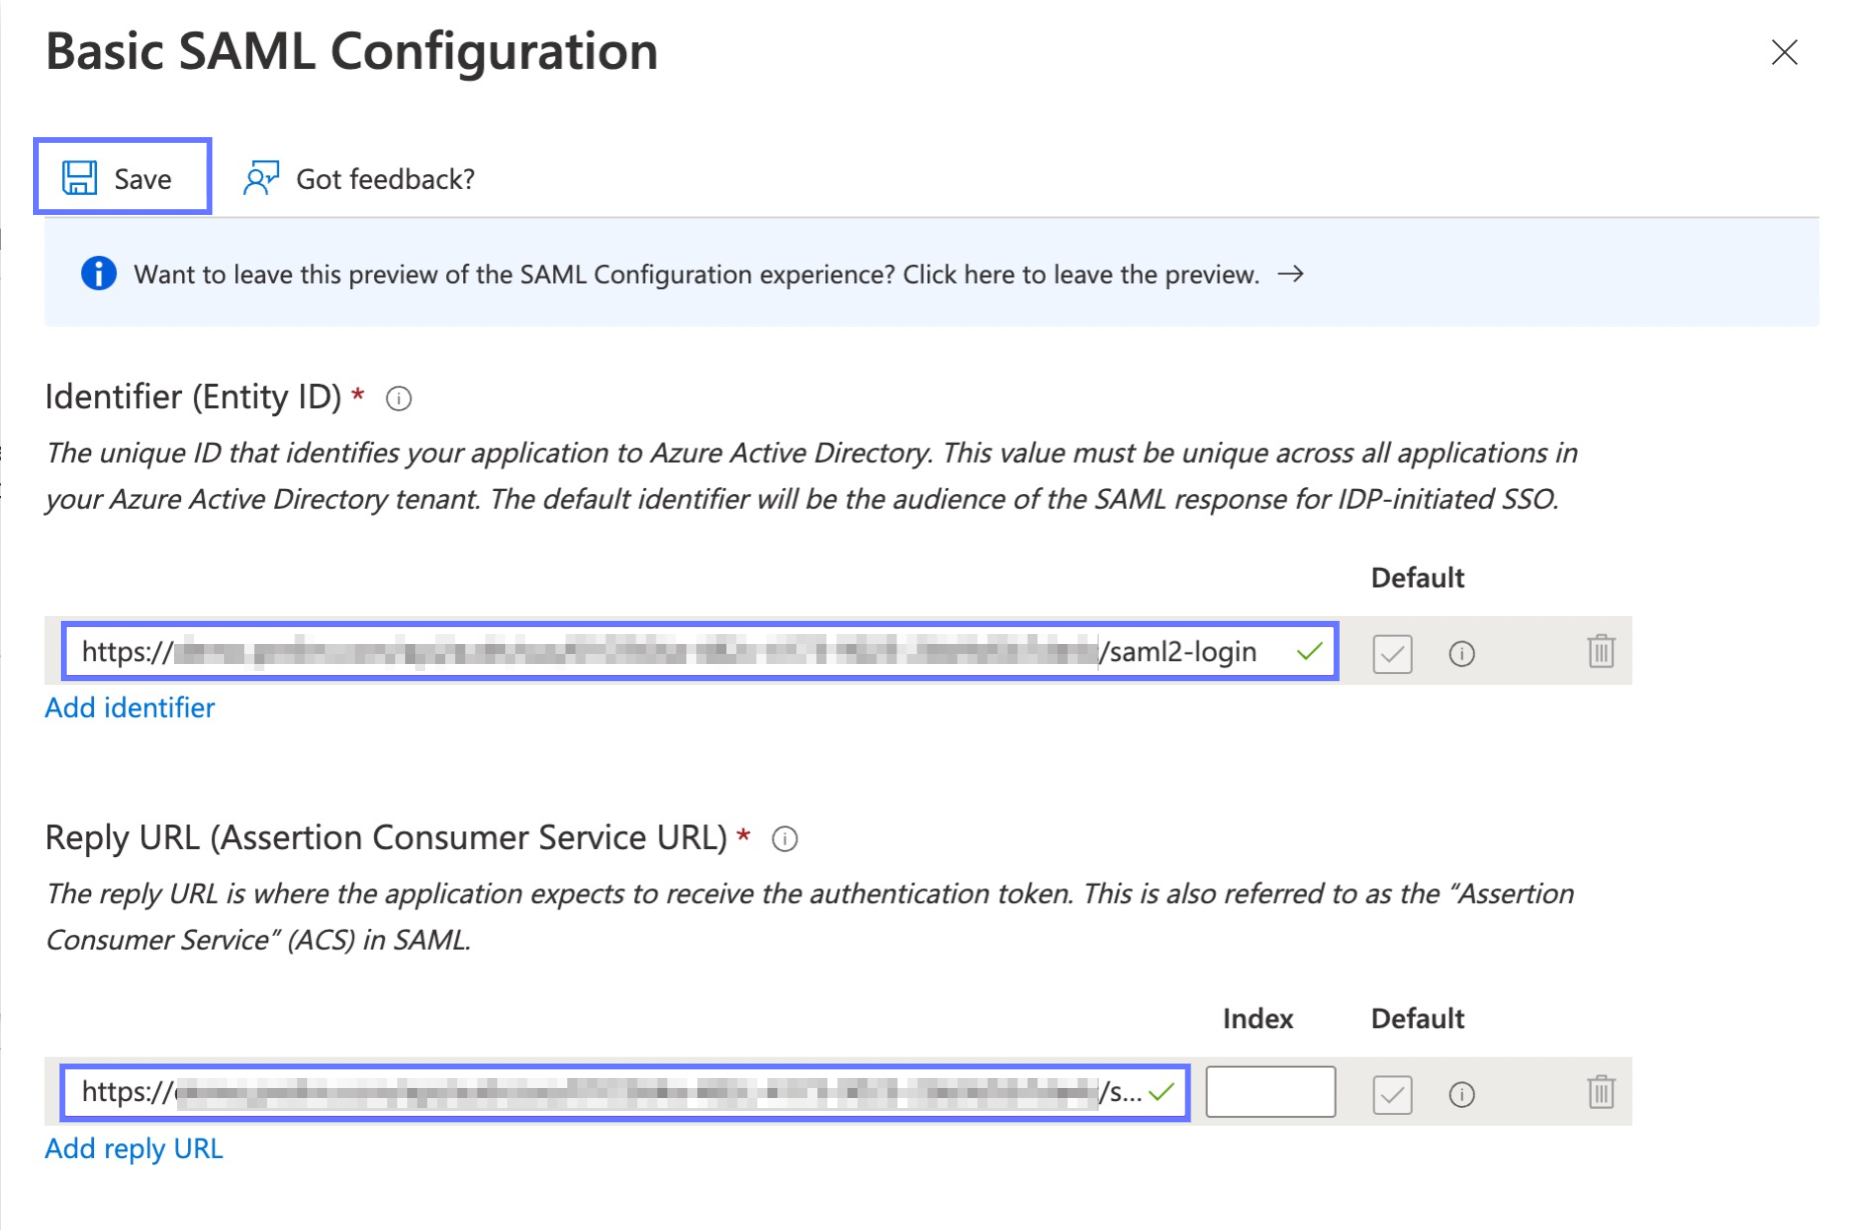
- We will use the URL copied from prelim as both the Identifier (Entity ID) and Reply URL (Assertion Consumer Service URL). Paste the URL into both of those fields, then press save at the top of the configuration pane. You may now exit this pane.
- We will use the URL copied from prelim as both the Identifier (Entity ID) and Reply URL (Assertion Consumer Service URL). Paste the URL into both of those fields, then press save at the top of the configuration pane. You may now exit this pane.
-
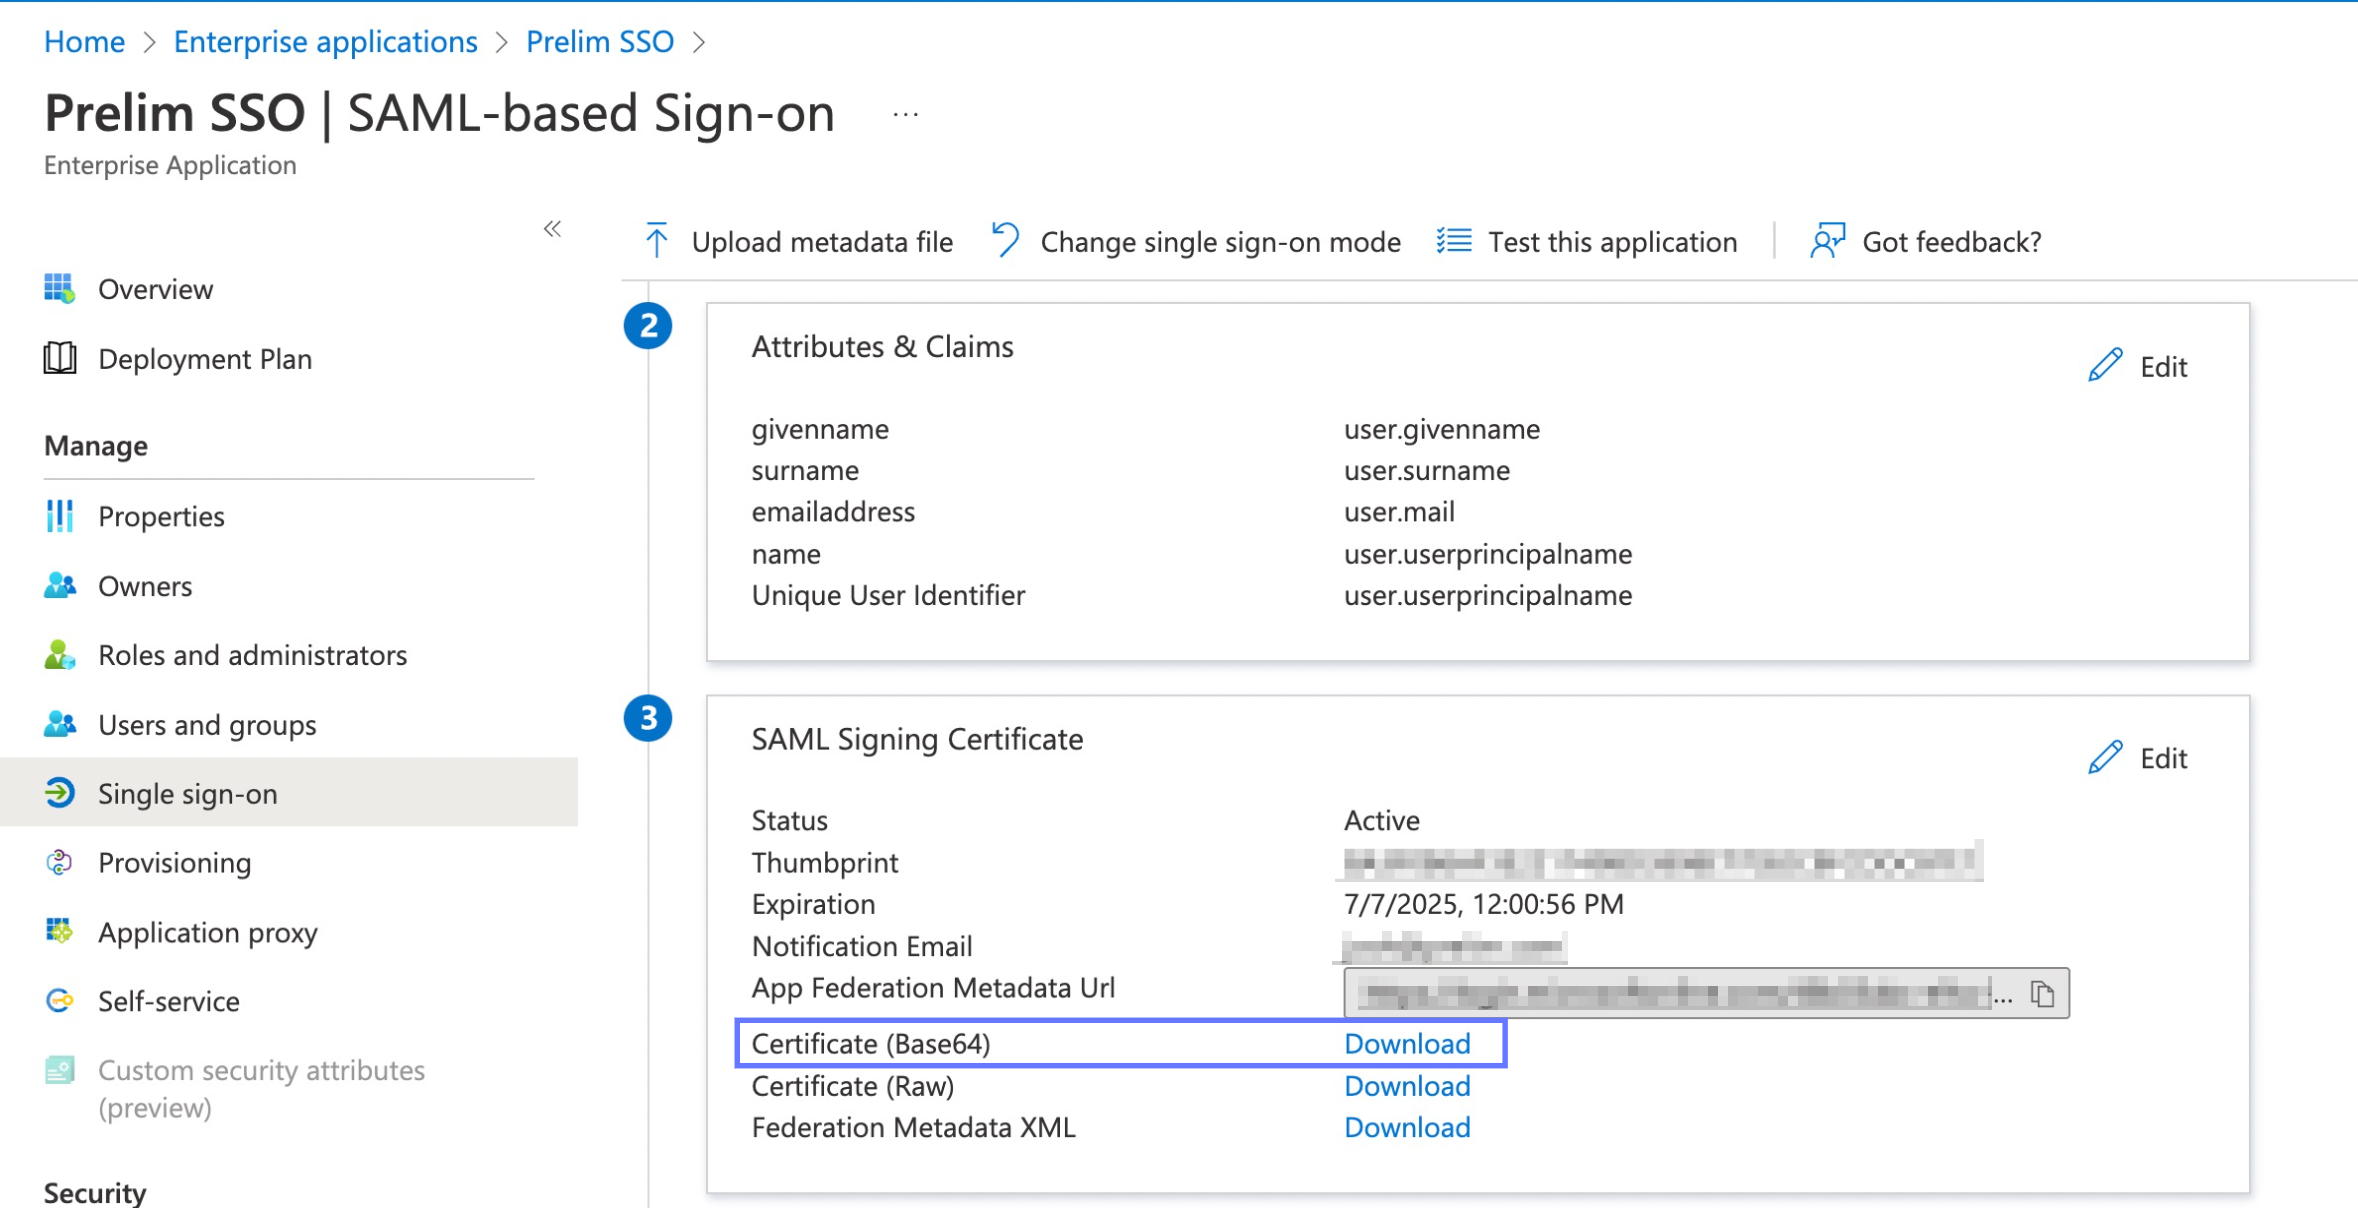
Now click the edit button on the Attributes and Claims Section.
-
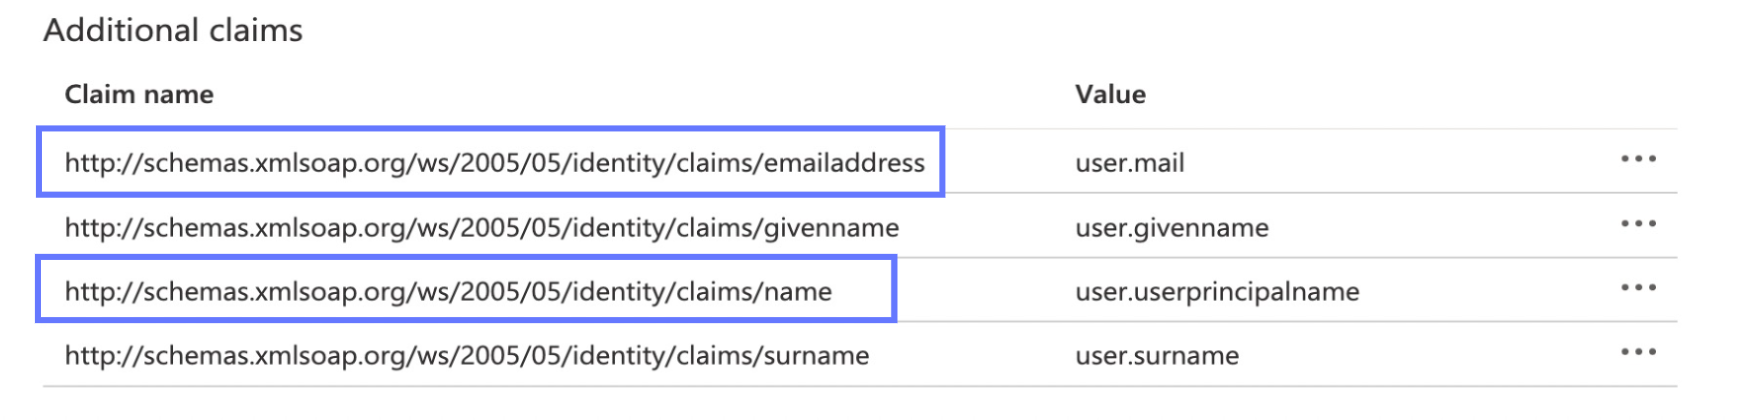
In the Additional Claims section, copy the Claim name with the associates value of "user.userprinciplename". If the claim name is cut off, you may need to click and drag the boundary between the claim name and value to increase the column width as you would in a spreadsheet.
-
Return to the Prelim SSO page and paste this value into the ID Attribute Name field.
-
Return to Azure and copy the Claim name associated with user.mail. You will paste this value into the Email Attribute Name field in Prelim. Save these values for ID and email by pressing the save button below.
-
-
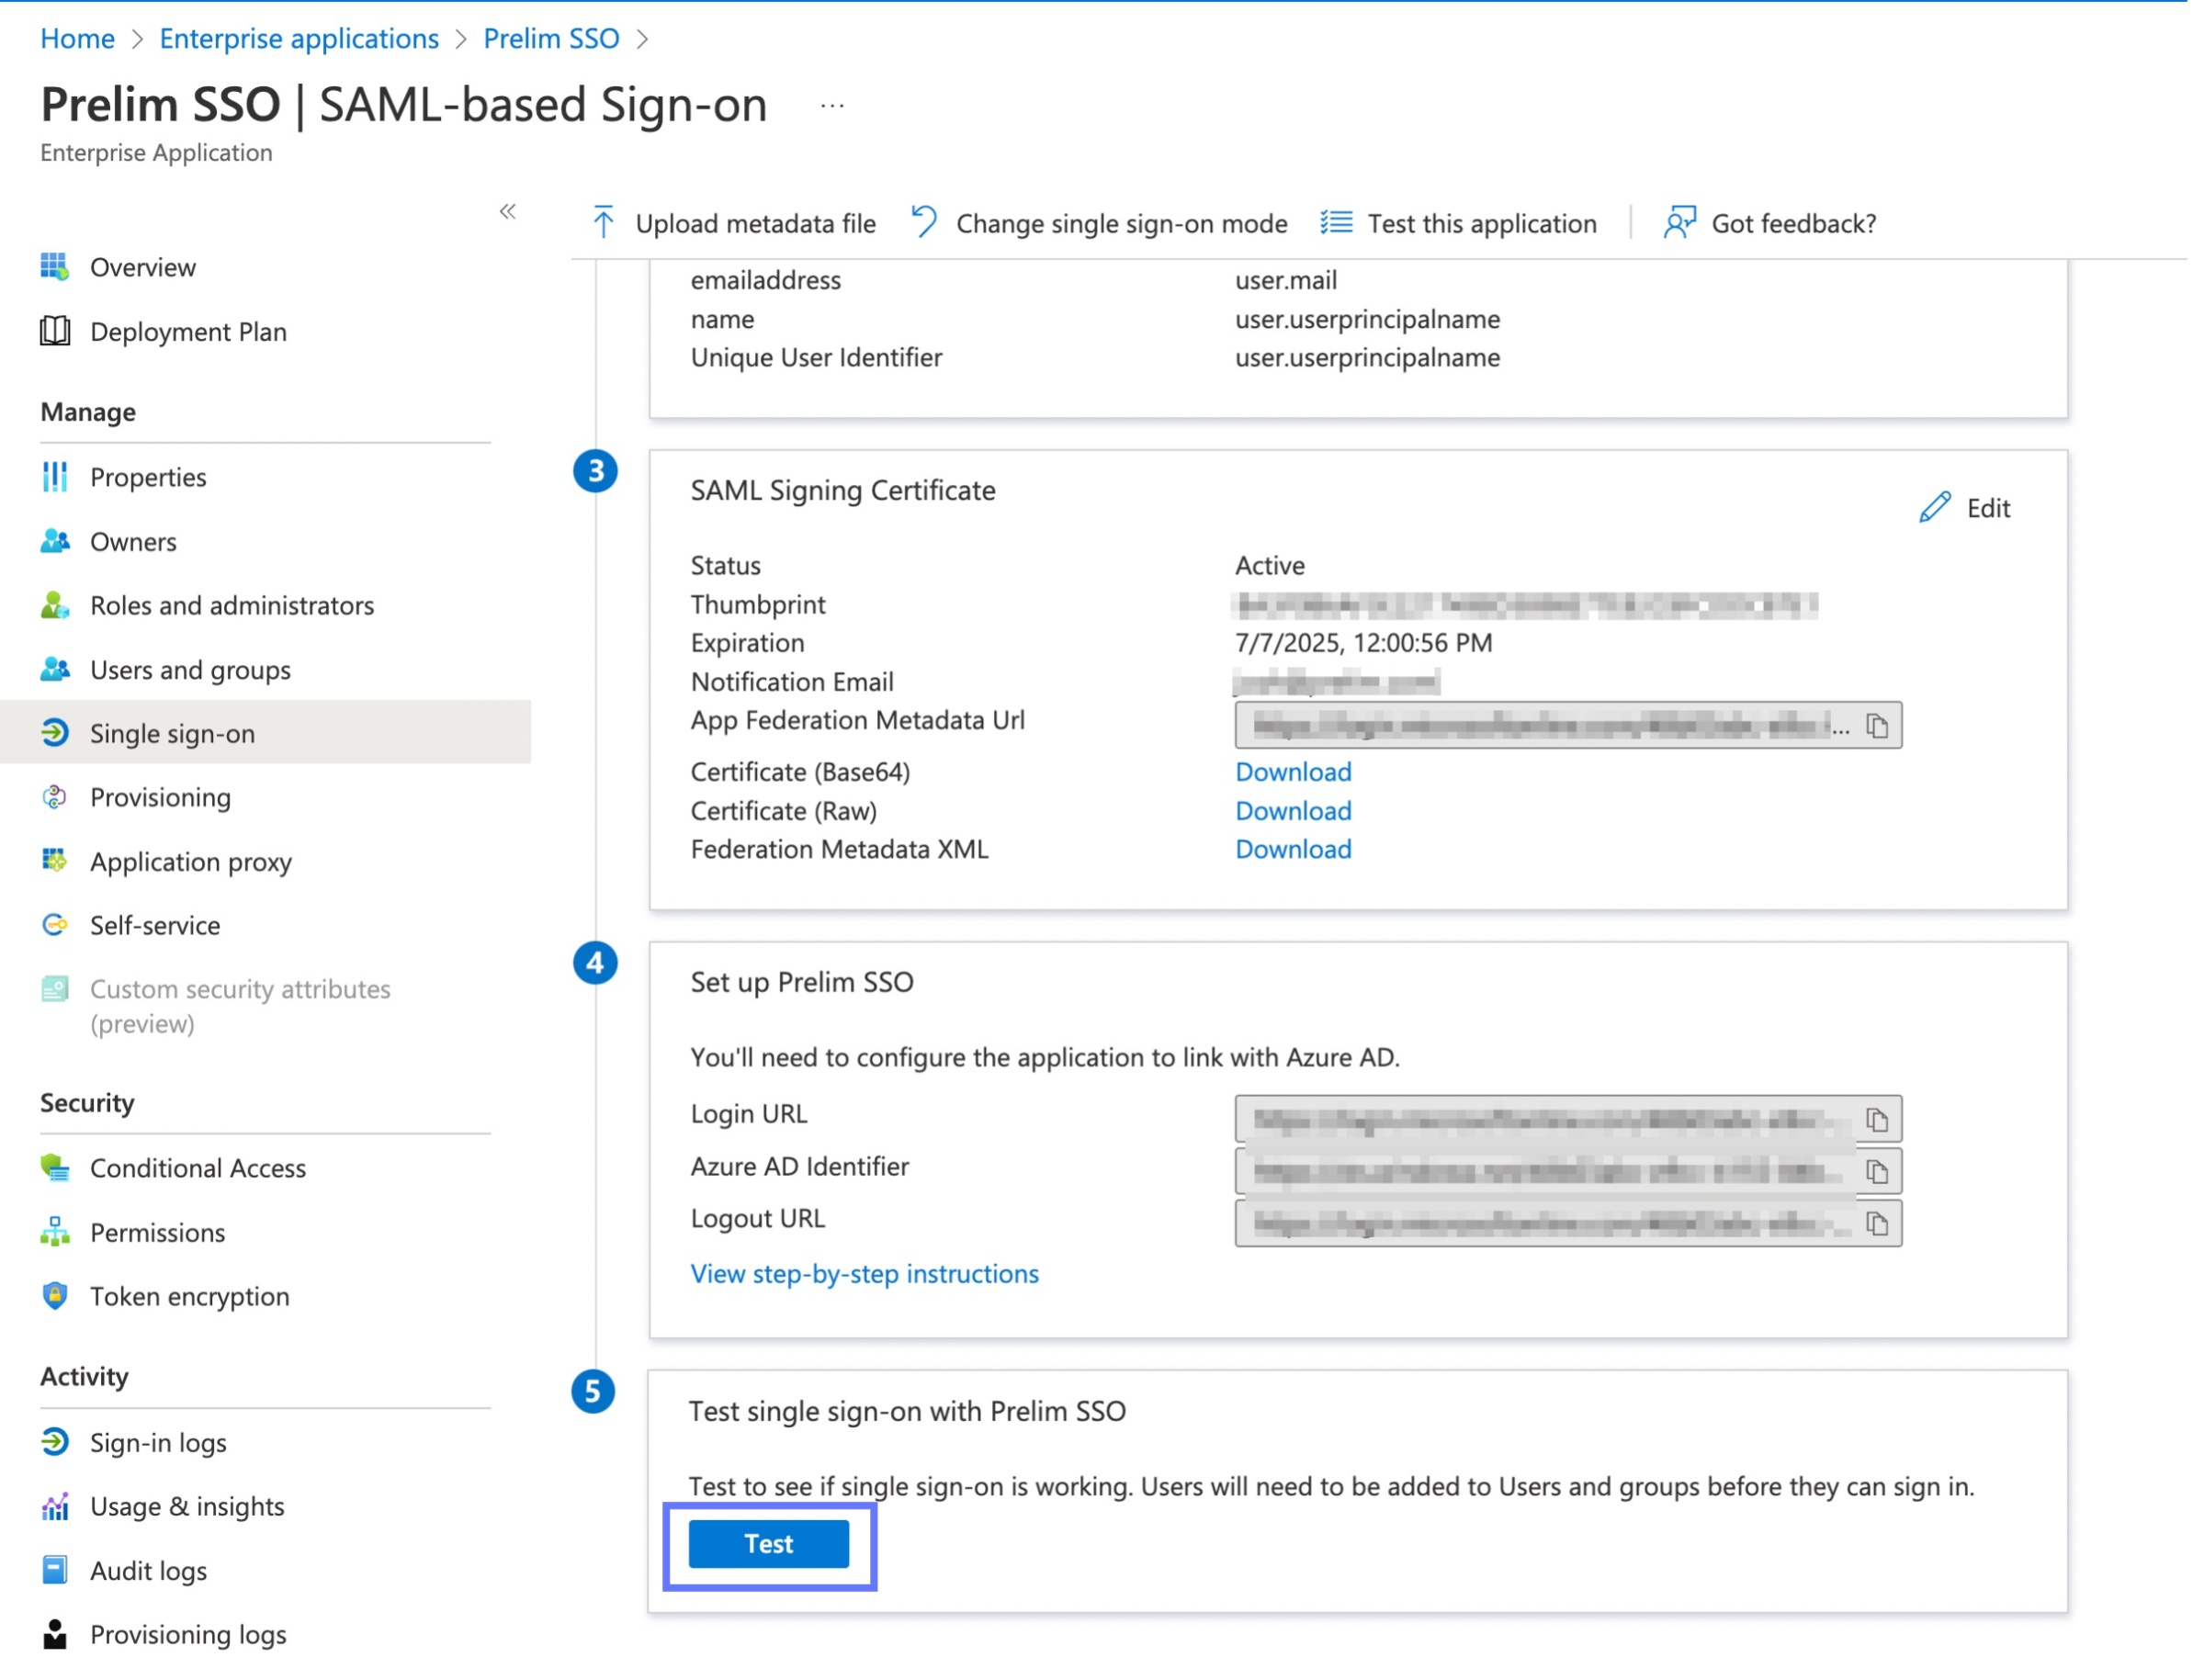
Returning to the SSO Set Up page in Azure, download the Certificate (Base64) found in the SAML Signing Certificate.
-
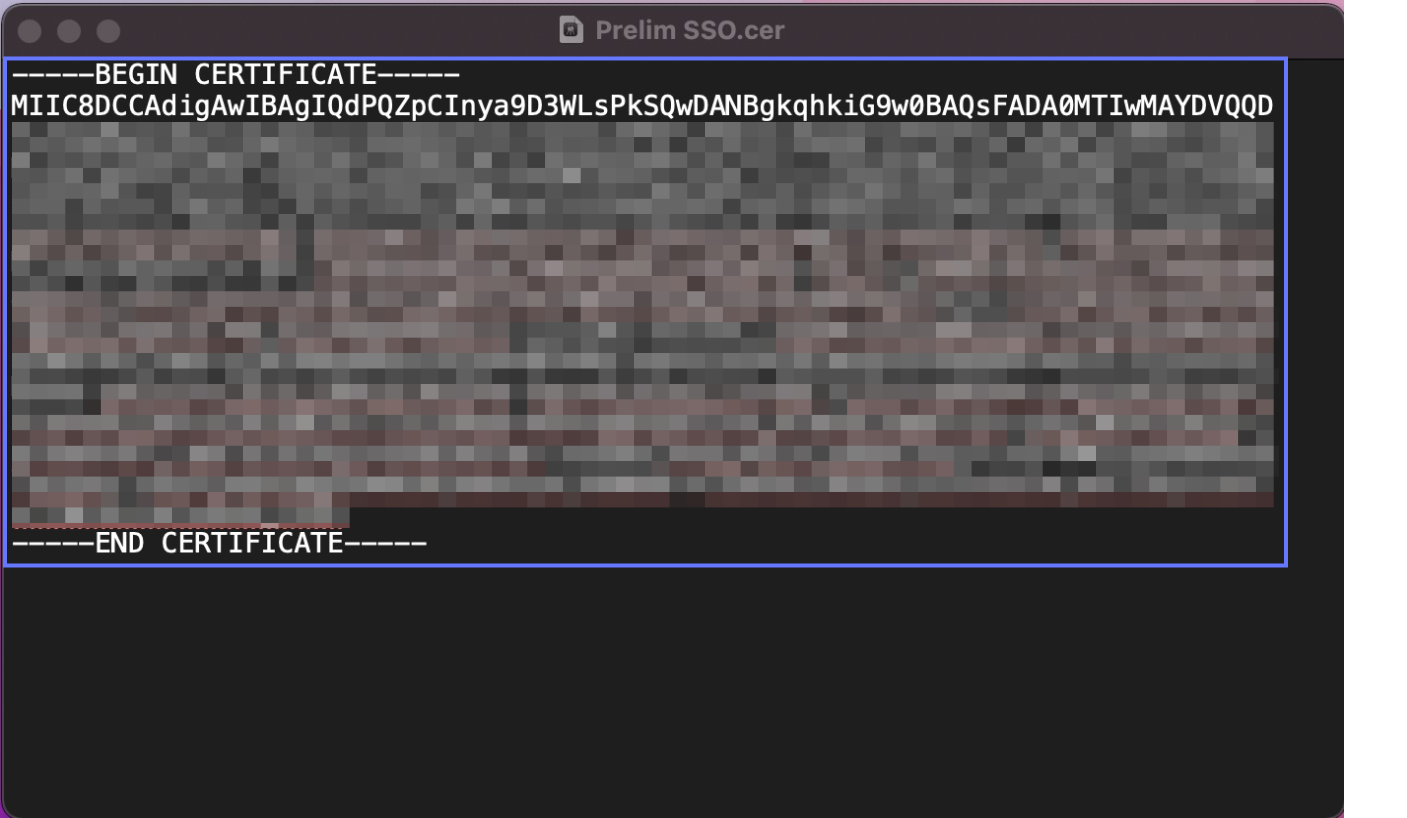
Navigate to your downloads folder and open this certificate with a raw text editor like Notepad (Windows) or TextEdit (Mac). Copy the entire contents of this file to your clipboard.
-
Base64 encode the certificate, including the
-----BEGIN CERTIFICATE-----and-----END CERTIFICATE-----PEM headers/footers. -
Return to Prelim and paste the Base64 re-encoded certificate into the Identity Provider Certificate section.
-
-
Copy the Login Redirect URL from AD into Prelim. This is typically found within the AD dashboard at
Enterprise Applications->[Application]->Propertiesas the "User access URL" or "Application URL". -
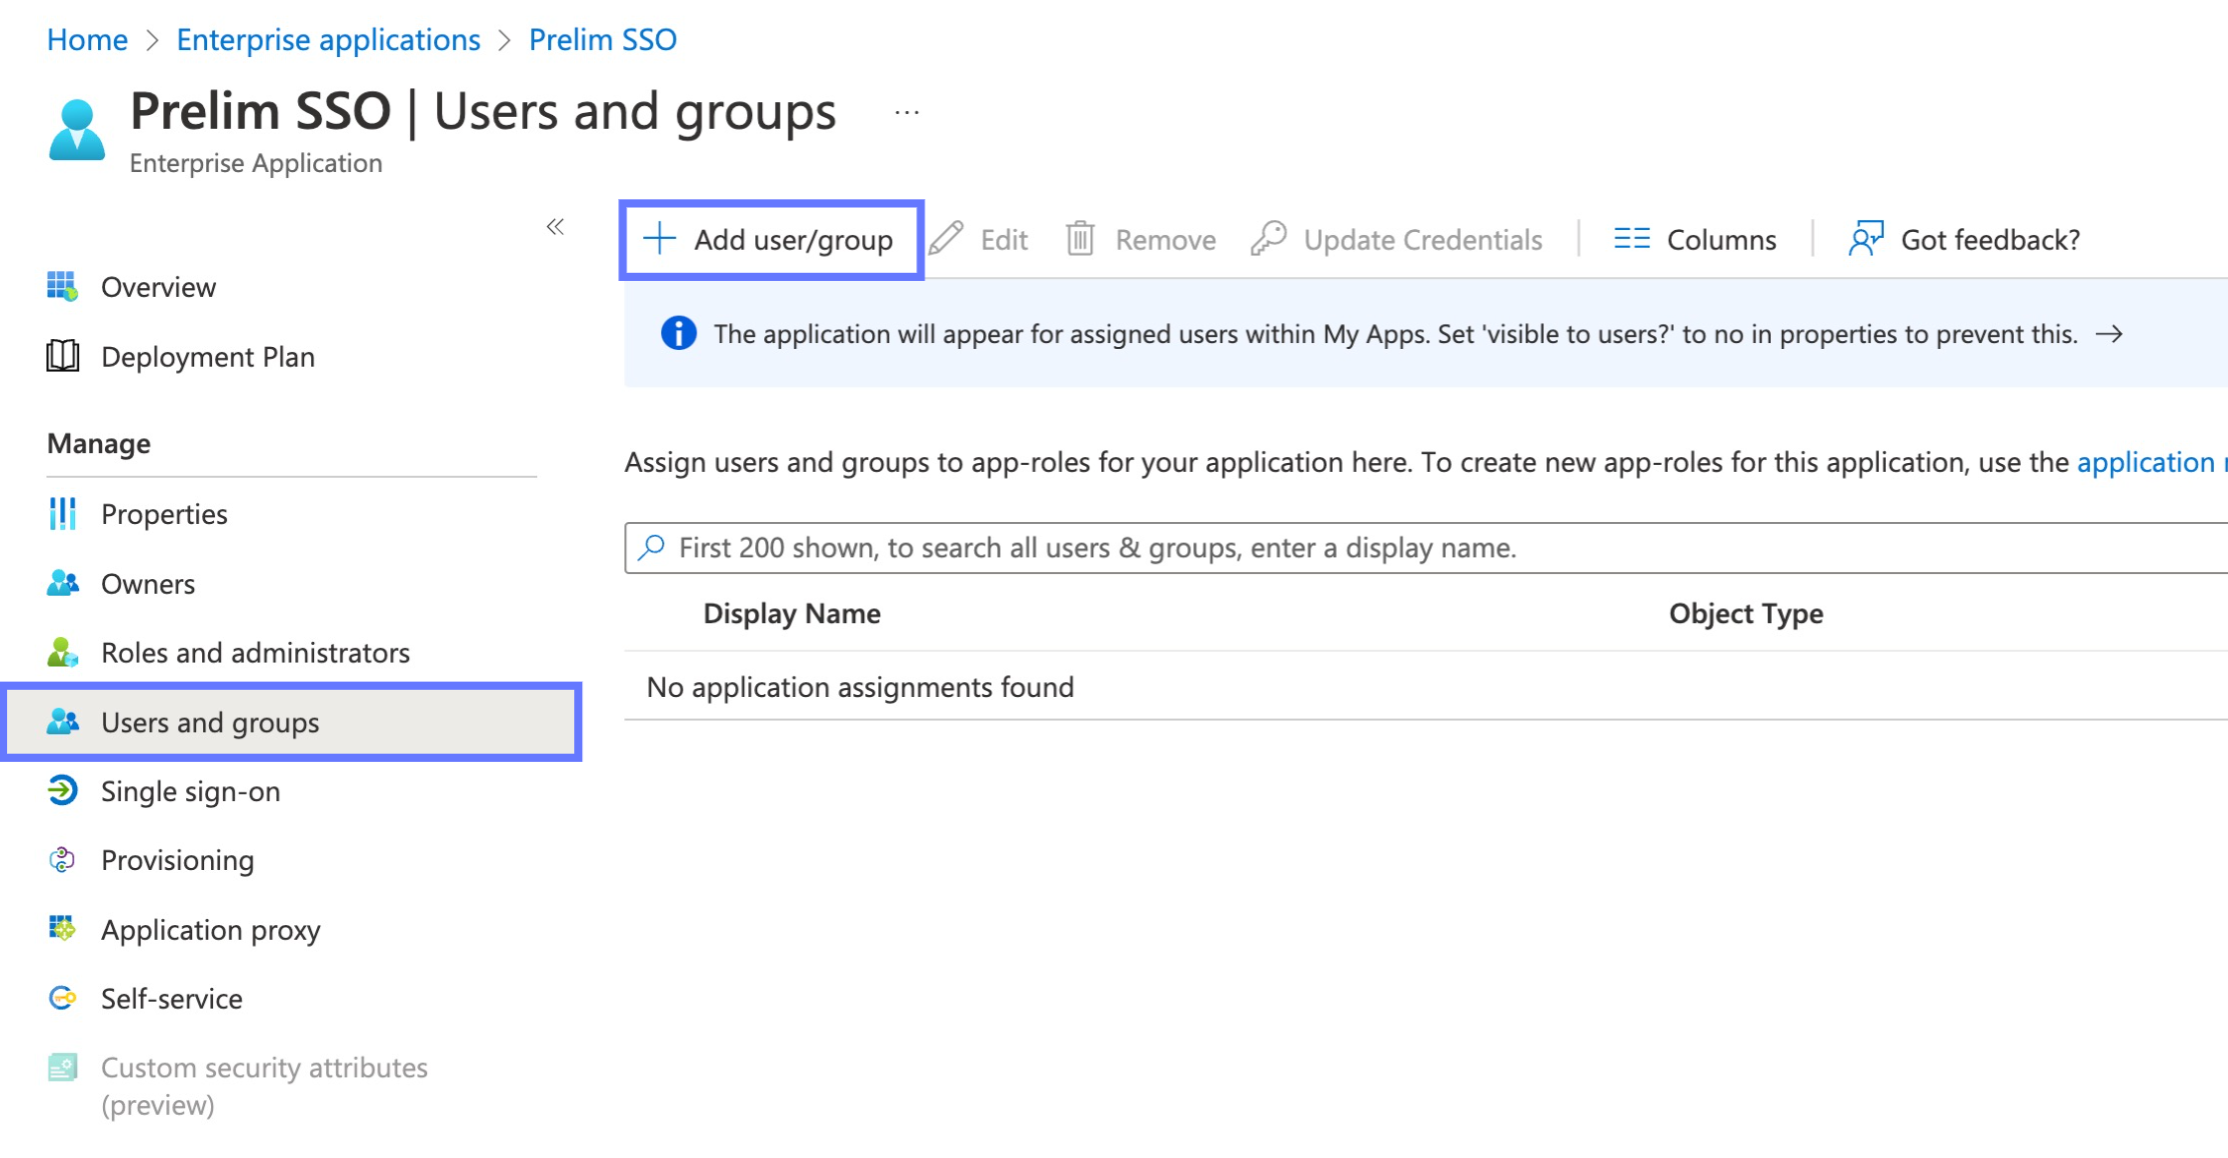
In order for your users or groups of users to be authenticated, you will need to assign them to your Azure AD SAML application. Select "Users and groups" from the "Manage" section of the navigation menu.
-
Select "Add user/group" from the top menu.
-
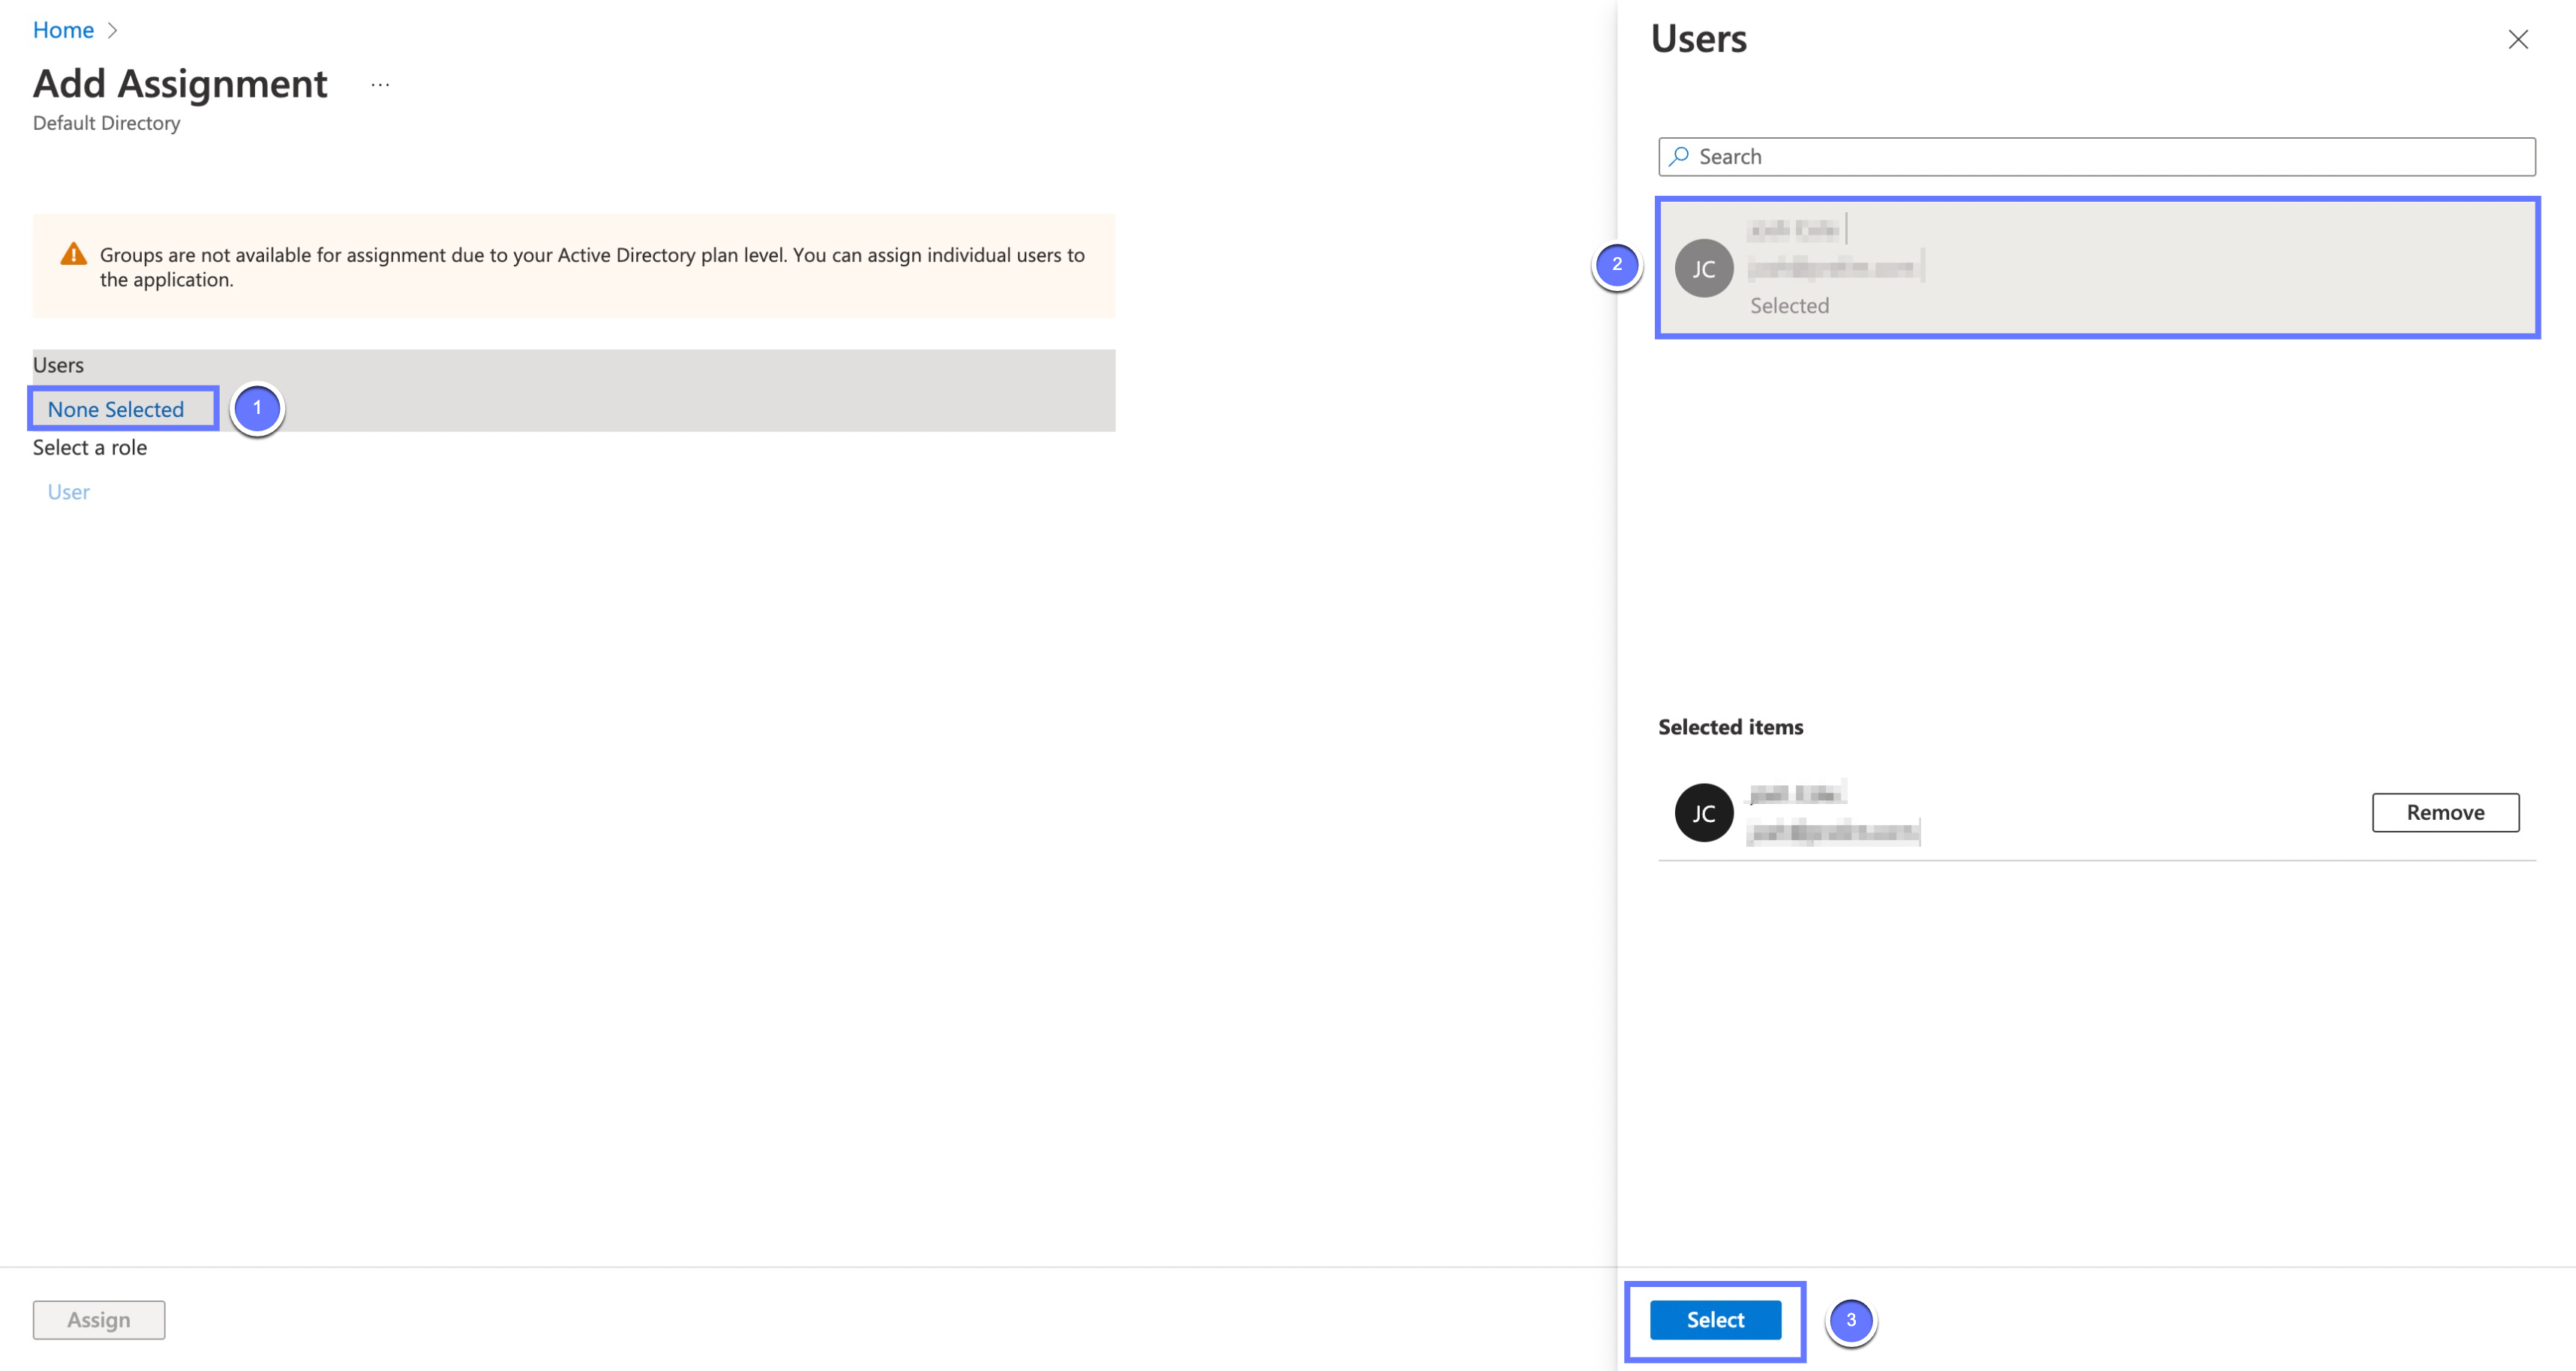
Select "None selected" under the "Users and Groups". In the menu, select the users and groups of users that you want to add to the SAML application, and click "Select".
-
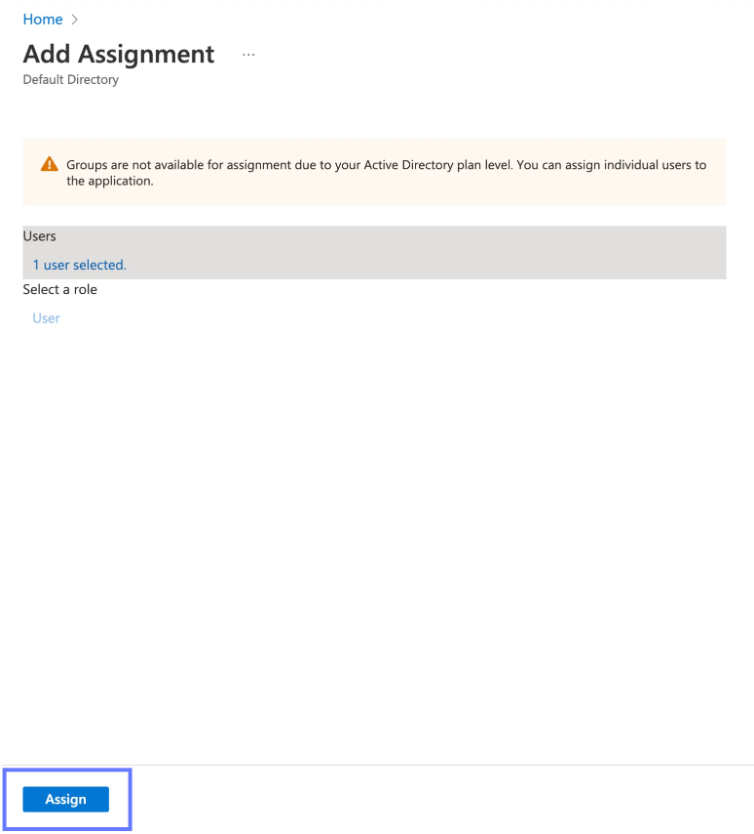
Select "Assign" to add the selected users and groups of users to your SAML application.
-
-
We're now ready to test the SSO integration! Select "Single sign-on" from the "Manage" section of the navigation menu. Scroll to the Test single sign-on with Prelim SSO section and click test.
-
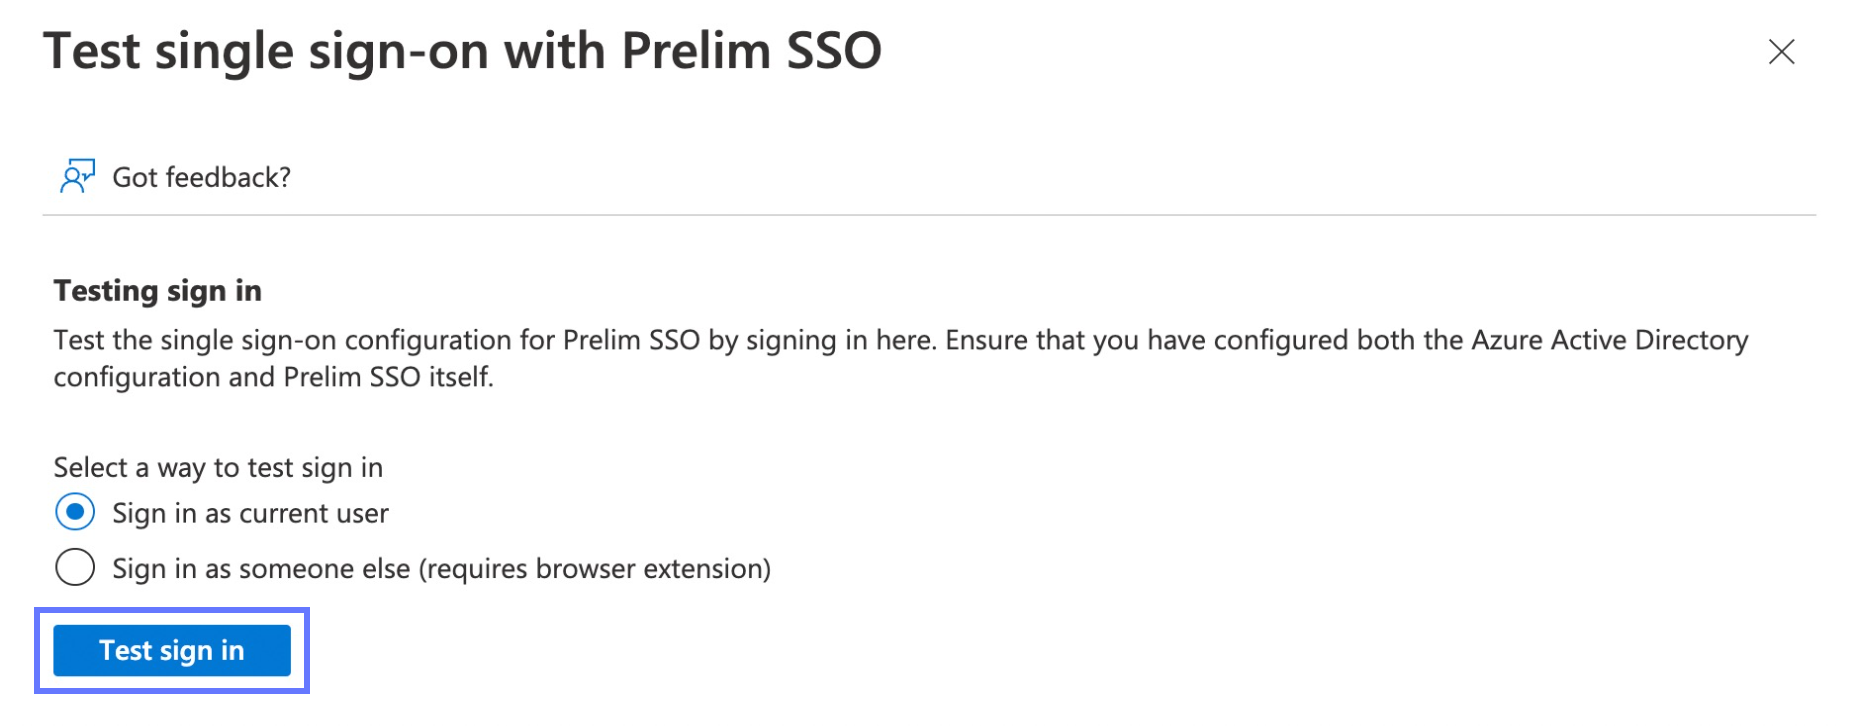
If you'd like to test logging into Prelim with an email different from the one used to login to your Azure account, follow the instructions shown on the page to install the My Apps Secure Sign-in Extension.
-
Click Test sign in. If SSO is setup correctly, you should be directed to a login page for your organization, where you can log in and access Prelim!
-
-
If you encounter any errors during this setup process, please feel free to contact us at [email protected] and we’ll help you troubleshoot.
Updated 4 months ago