DocuSign
Need to e-sign a document? Add DocuSign into Prelim.
To learn more about DocuSign, you can consult their documentation: https://developers.docusign.com/docs/
Installing
Special permission requiredTo install, manage or uninstall you will need to be in a role that has the ability to install apps.
Using in a form
-
Navigate to the form that you want to add DocuSign to and click on the pages tab
-
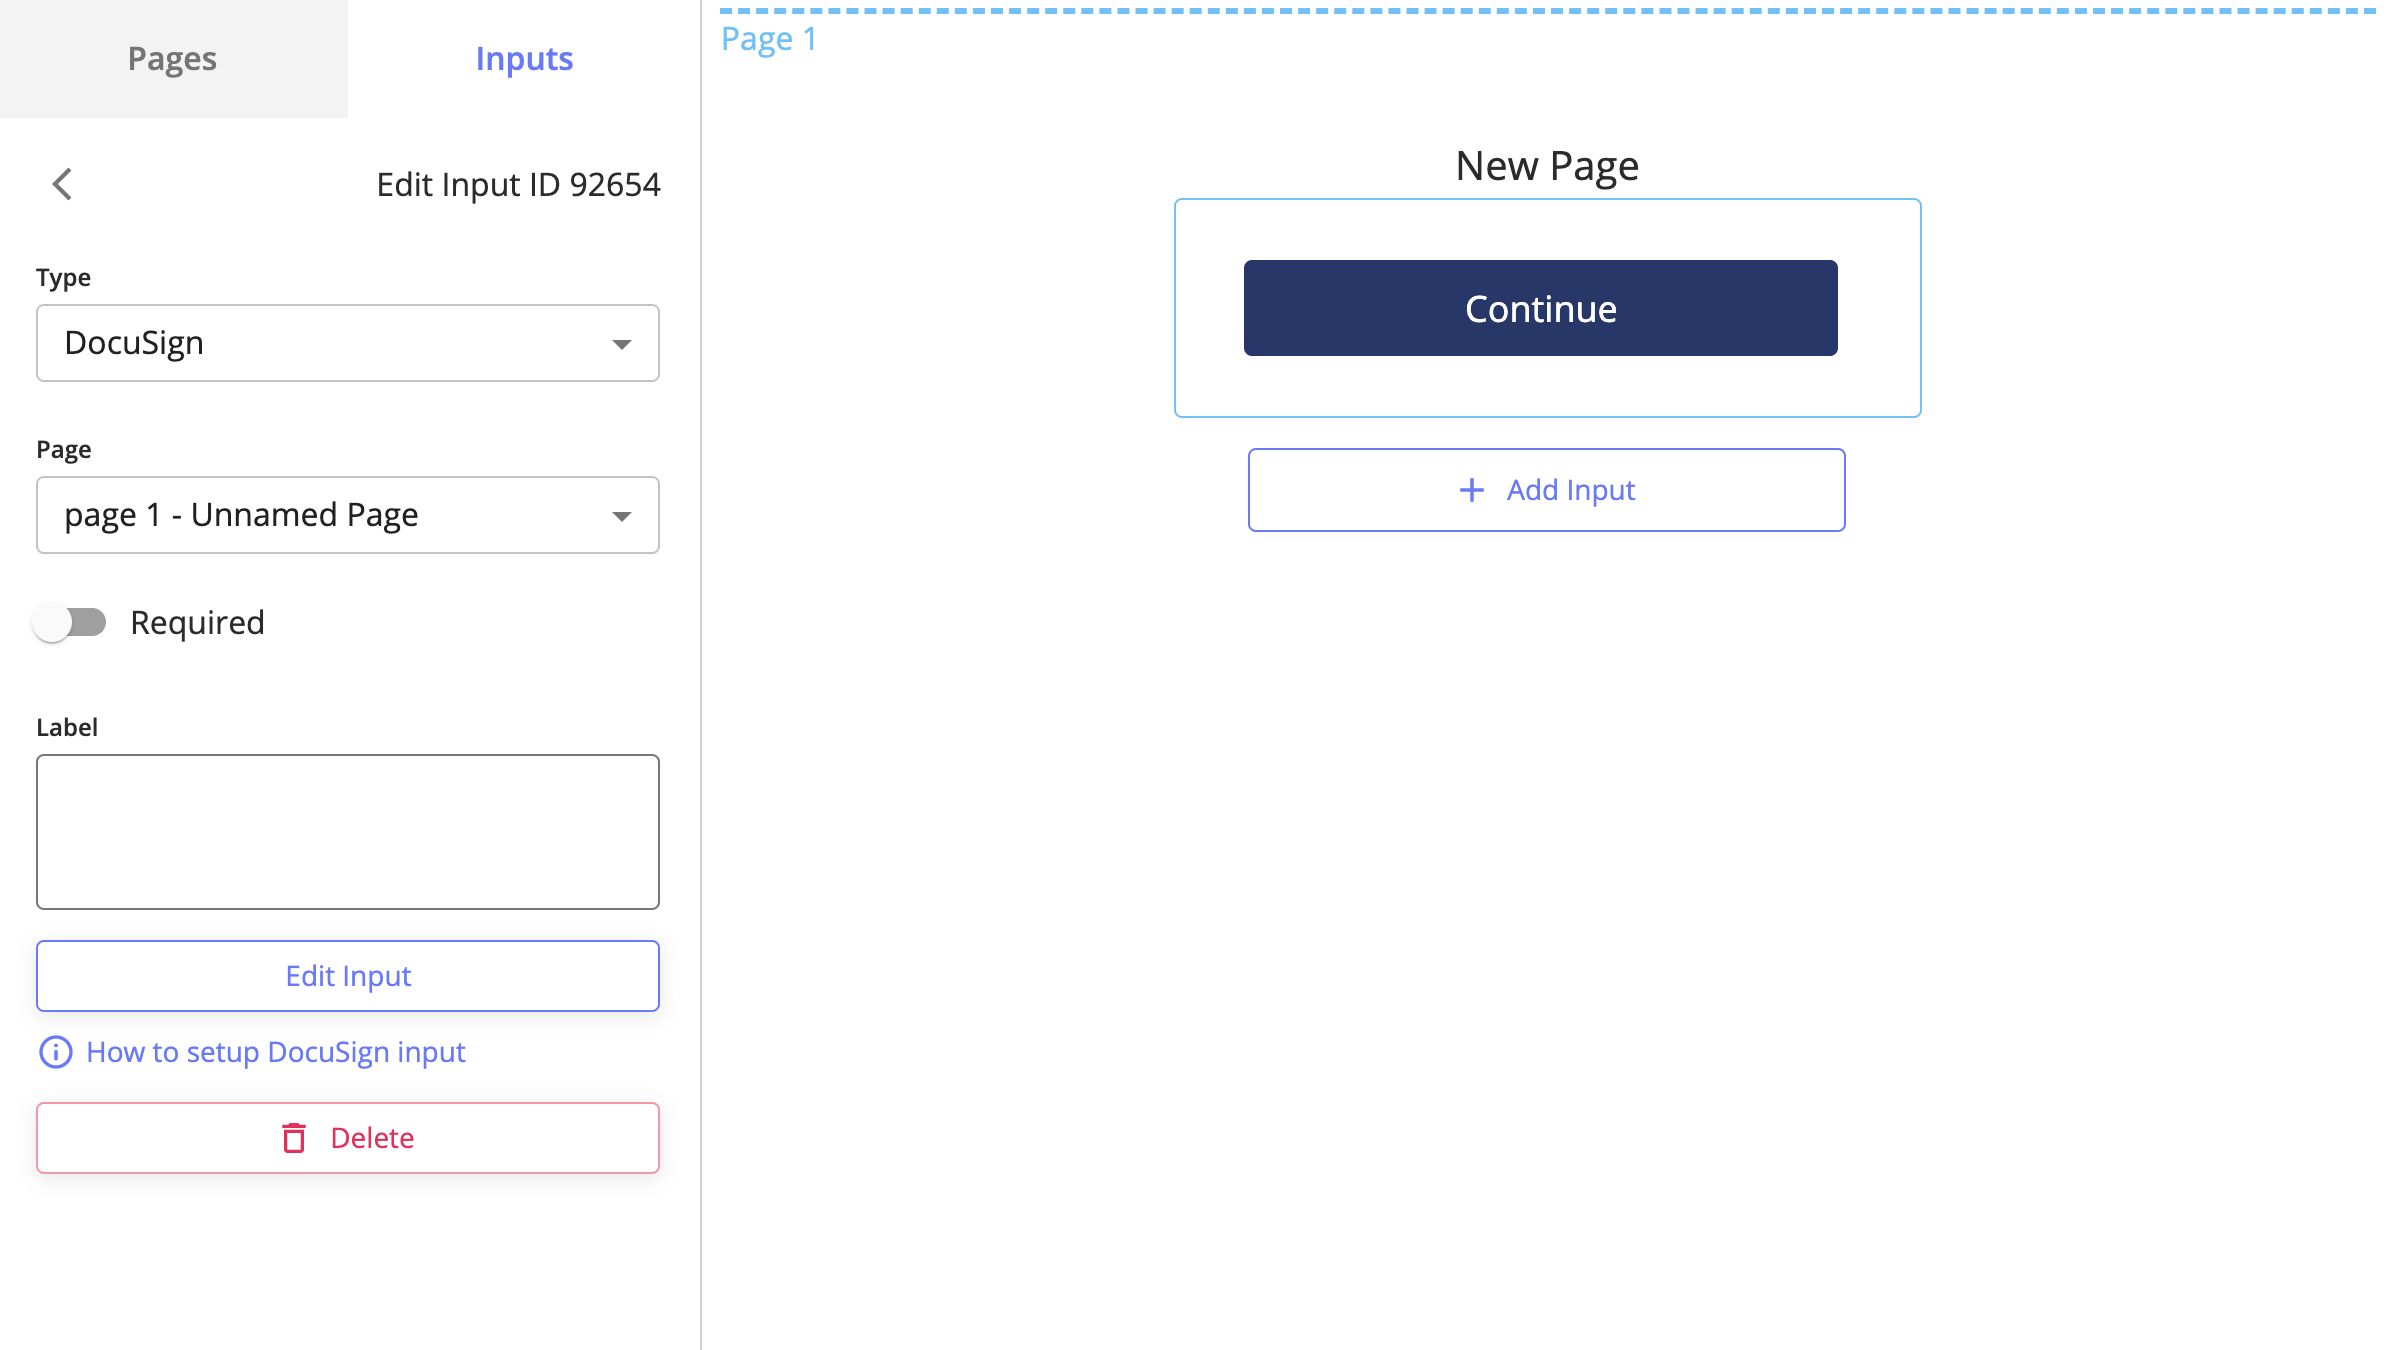
Click on 'Add Input' > 'Docusign'. A new DocuSign button will appear in the form builder.
-
For this to work, you must first add PDFs to your form:
- If you already added your PDFs, skip to the next step.
- Otherwise click on the PDFs tab near the top of the screen to be redirected to the PDFs page.
- Click on the button at the top-right corner 'Add PDF'.
- Choose a PDF file that you want to upload from your computer and give it a name.
- If your DocuSign configuration needs multiple PDFs, repeat this process.
- Click on the 'Edit Input' button and the DocuSign editor window will pop up.
-
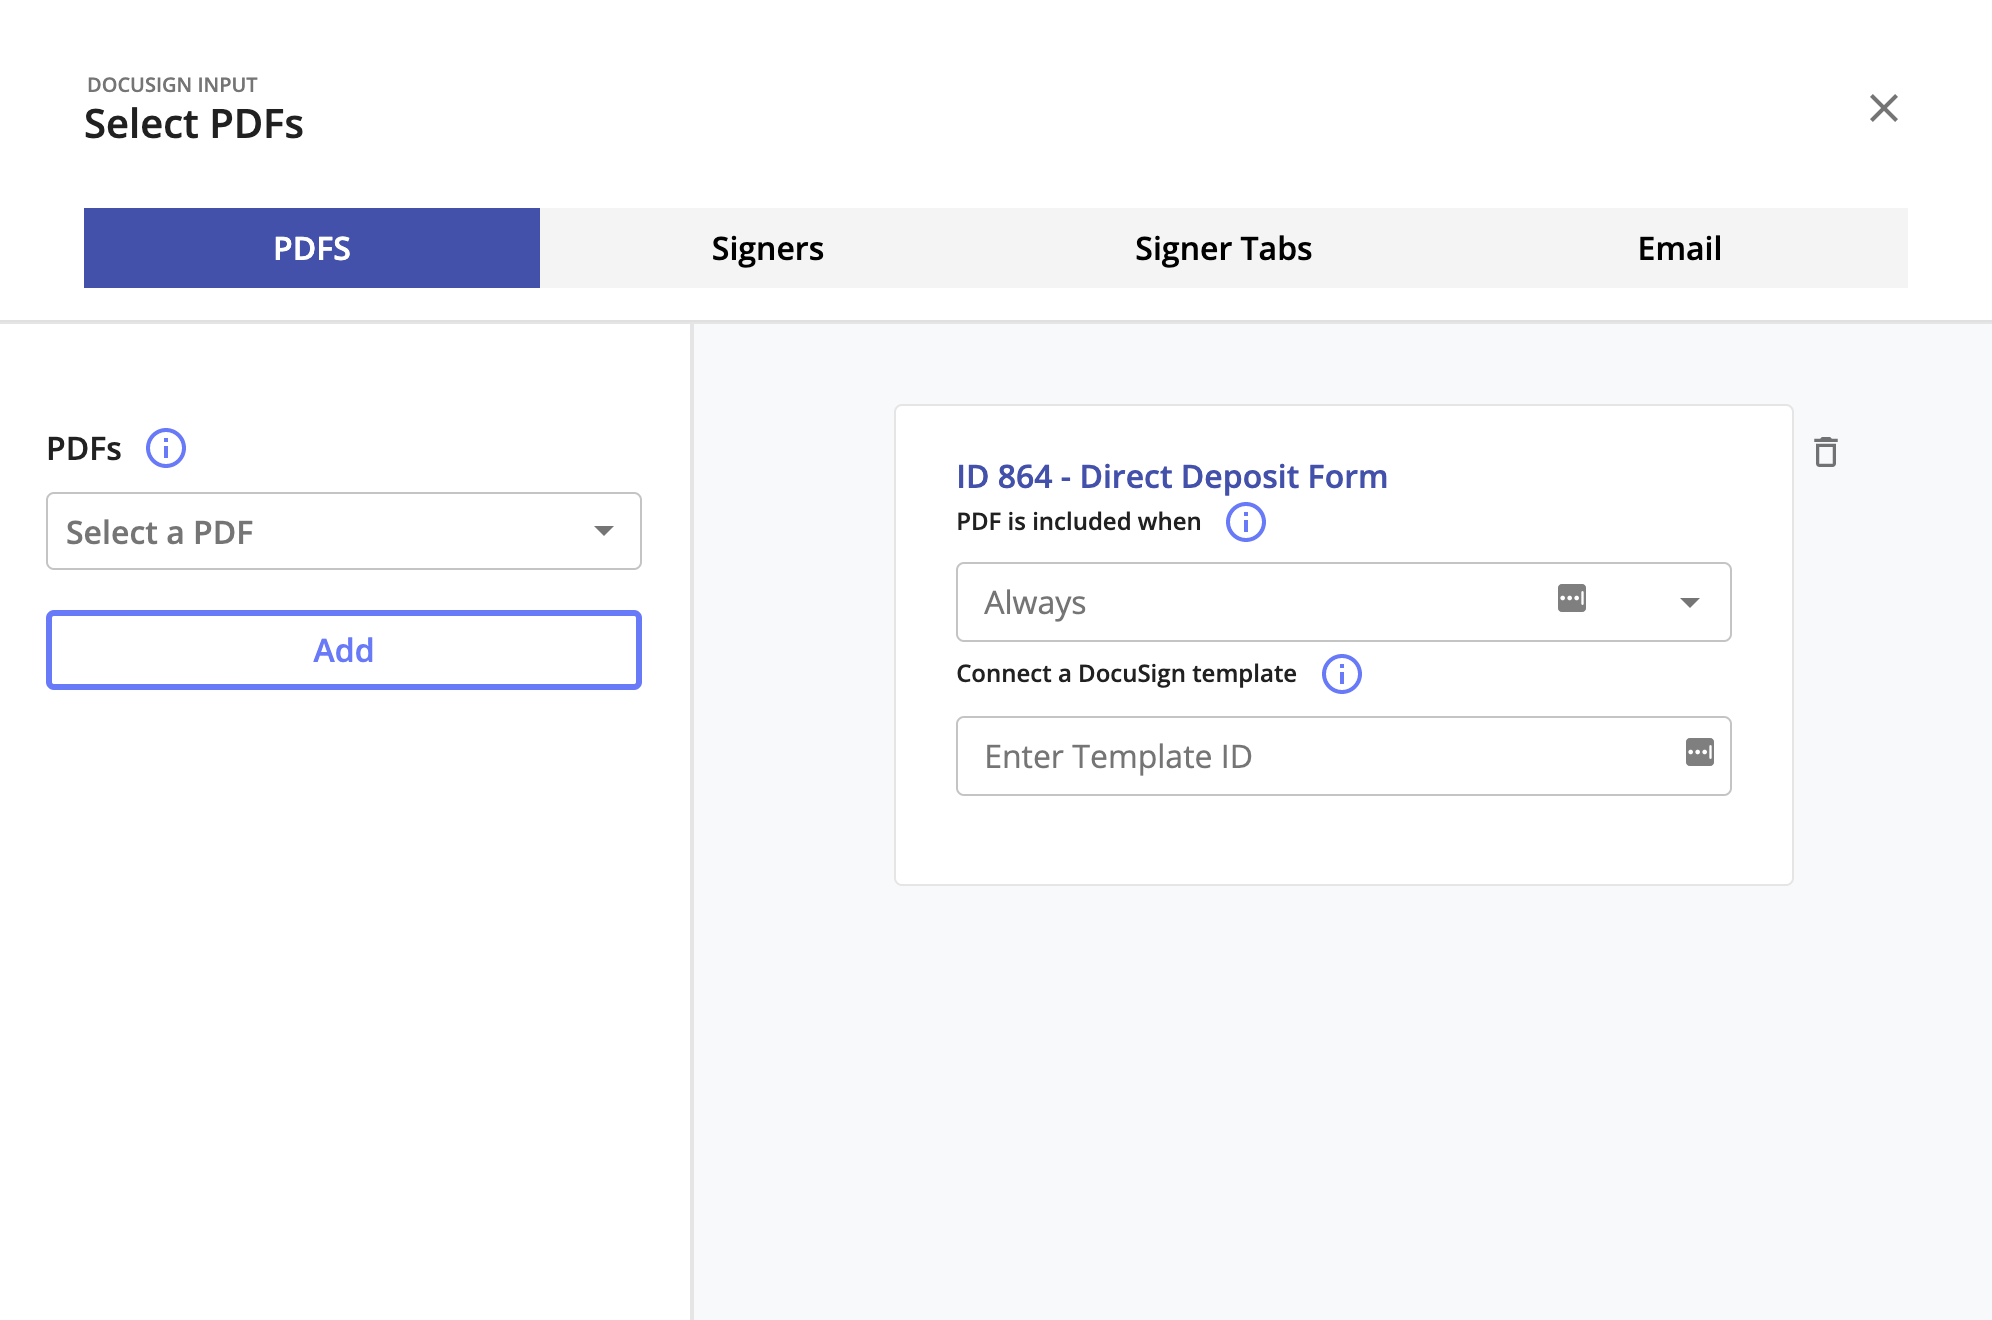
You will first be shown the 'PDFs' tab of the DocuSign editor window
-
In the left-hand column, you should see a select dropdown with a list of PDFs that you can add. To add one, simply select it and click 'Add'.
- If you do not see the PDF you want to add, go back to Section I and add the PDF first.
- Upon first adding a PDF, it will always be included with the DocuSign input.
- If you only want that particular PDF to be shown upon a certain input being filled out, choose a specific input from the additional dropdown.
-
If you change your mind about a particular PDF, simply delete it by clicking the delete icon next the card.
-
Once you have added all your PDFs, click on the 'Signers' tab to continue.
A signer is a user that interacts with the DocuSign interface, whether it be filling out information or giving a signature. Upon interacting with the DocuSign input, they are sent an email that links them to DocuSign.
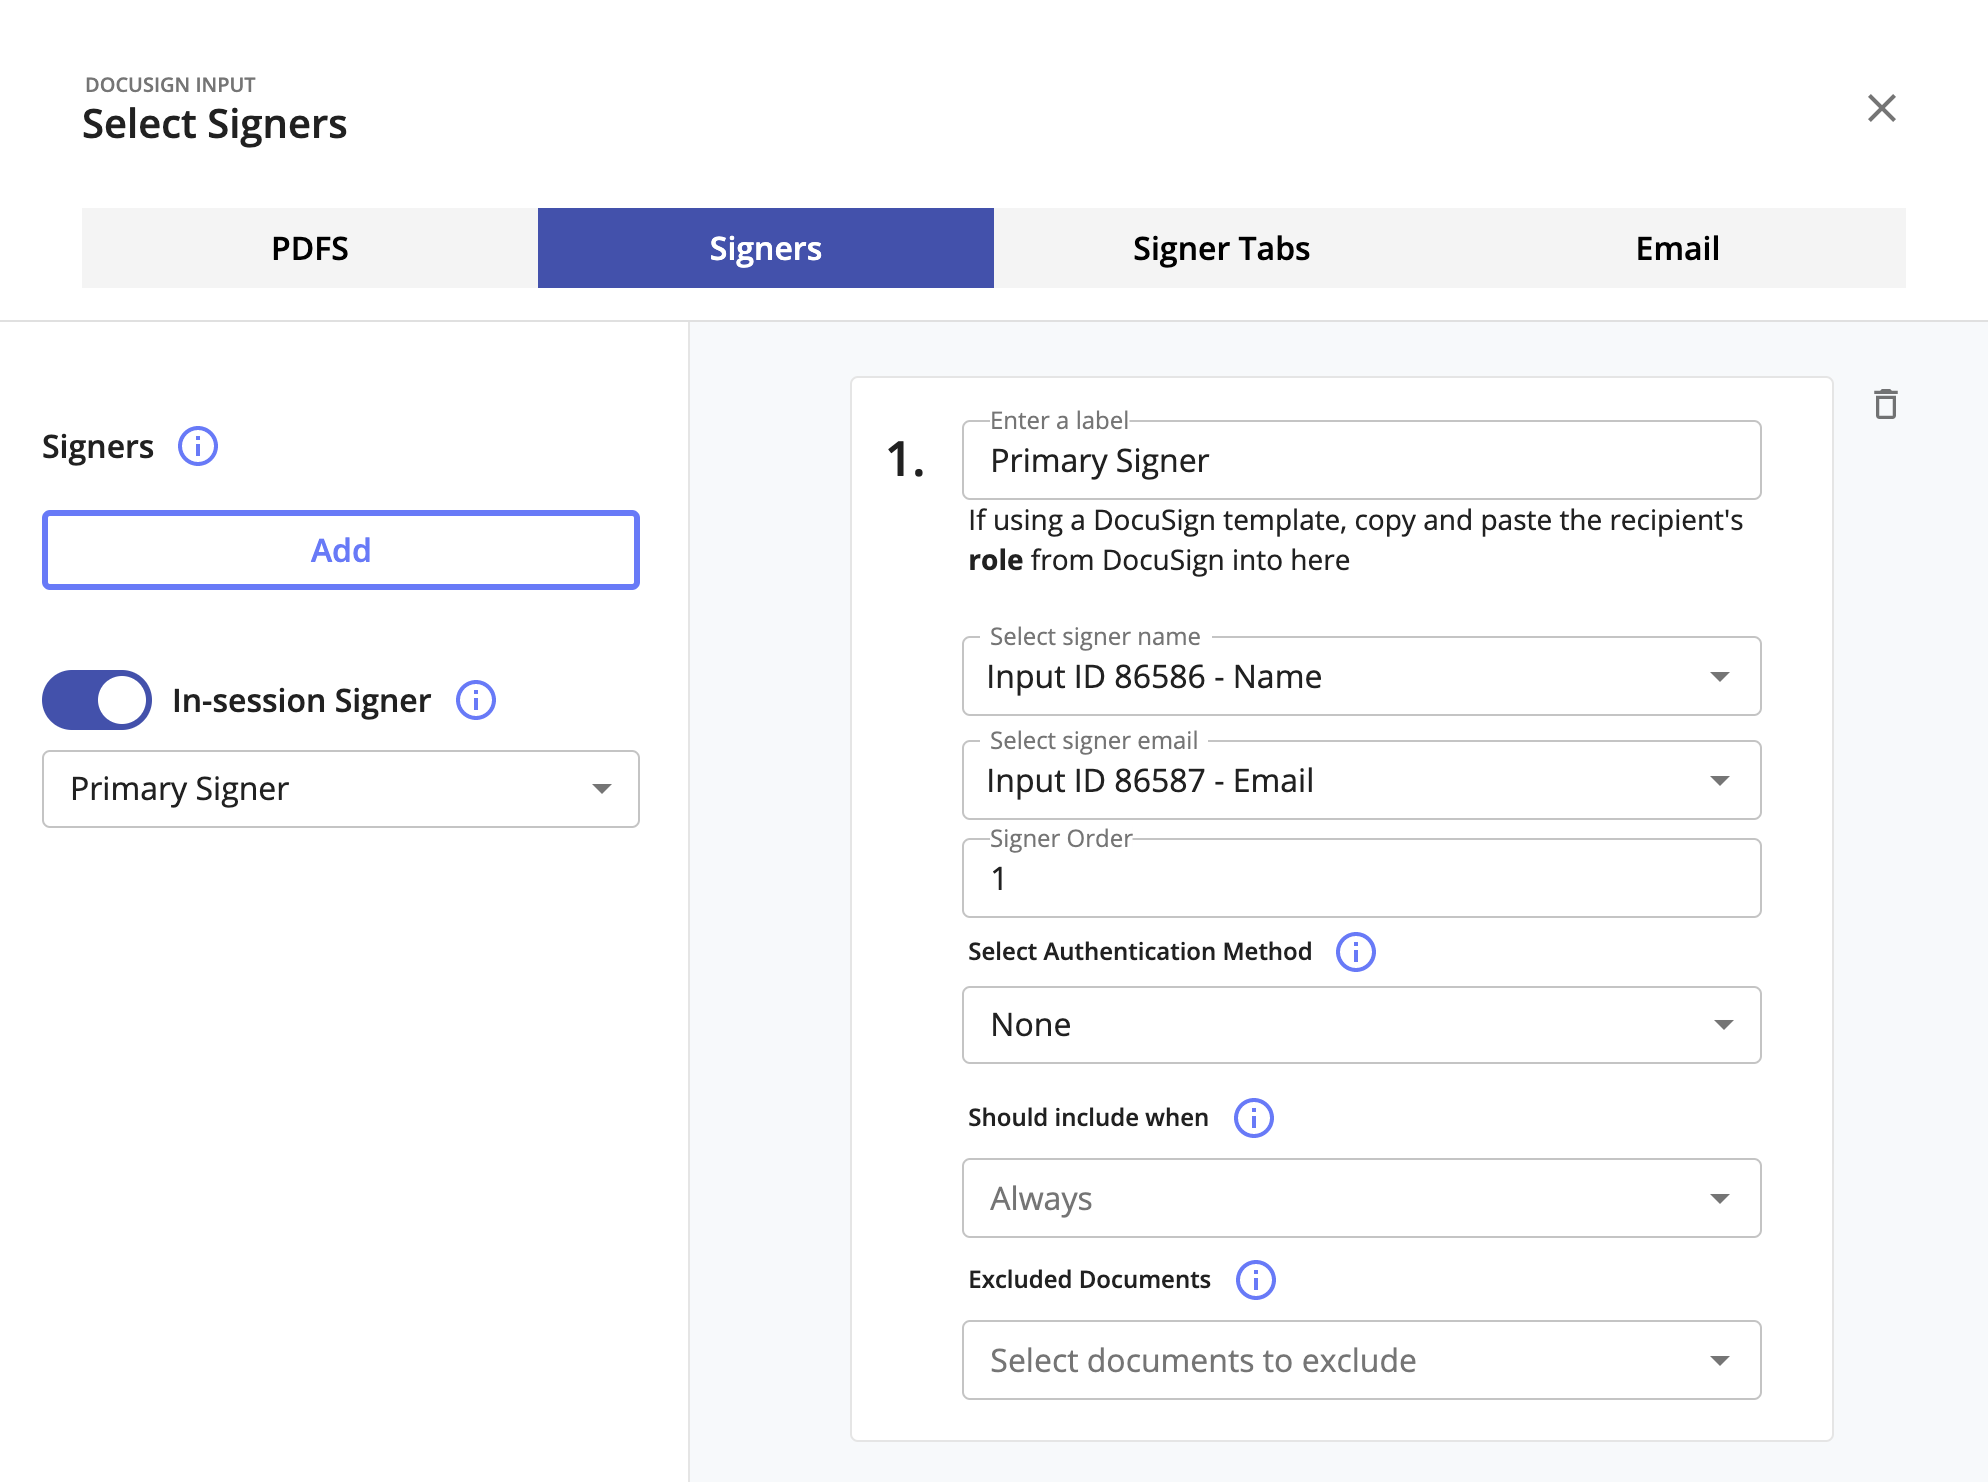
An in-session signer is a signer that is redirected to DocuSign to complete the form, and is redirected back to Prelim afterwards. You can only have ONE in-session signer per DocuSign configuration.
-
In the left-hand column, click on the 'Add' button to add a signer.
-
A signer configuration card will appear on the right-hand side. Give the signer a label, which will only be for internal use.
-
Select the inputs that signer's information will be based off of. The values of these inputs will be used to populate the name/email of the signer.
-
Similar to PDFs, you can also choose for the signer to be included only when a particular input is filled out by selecting an input from the "Should Include" dropdown.
-
You can delete unwanted signers by clicking on the delete icon.
-
Repeat until you have added sufficient signers. Proceed to the final section by clicking on the 'Signer Tabs' tab.
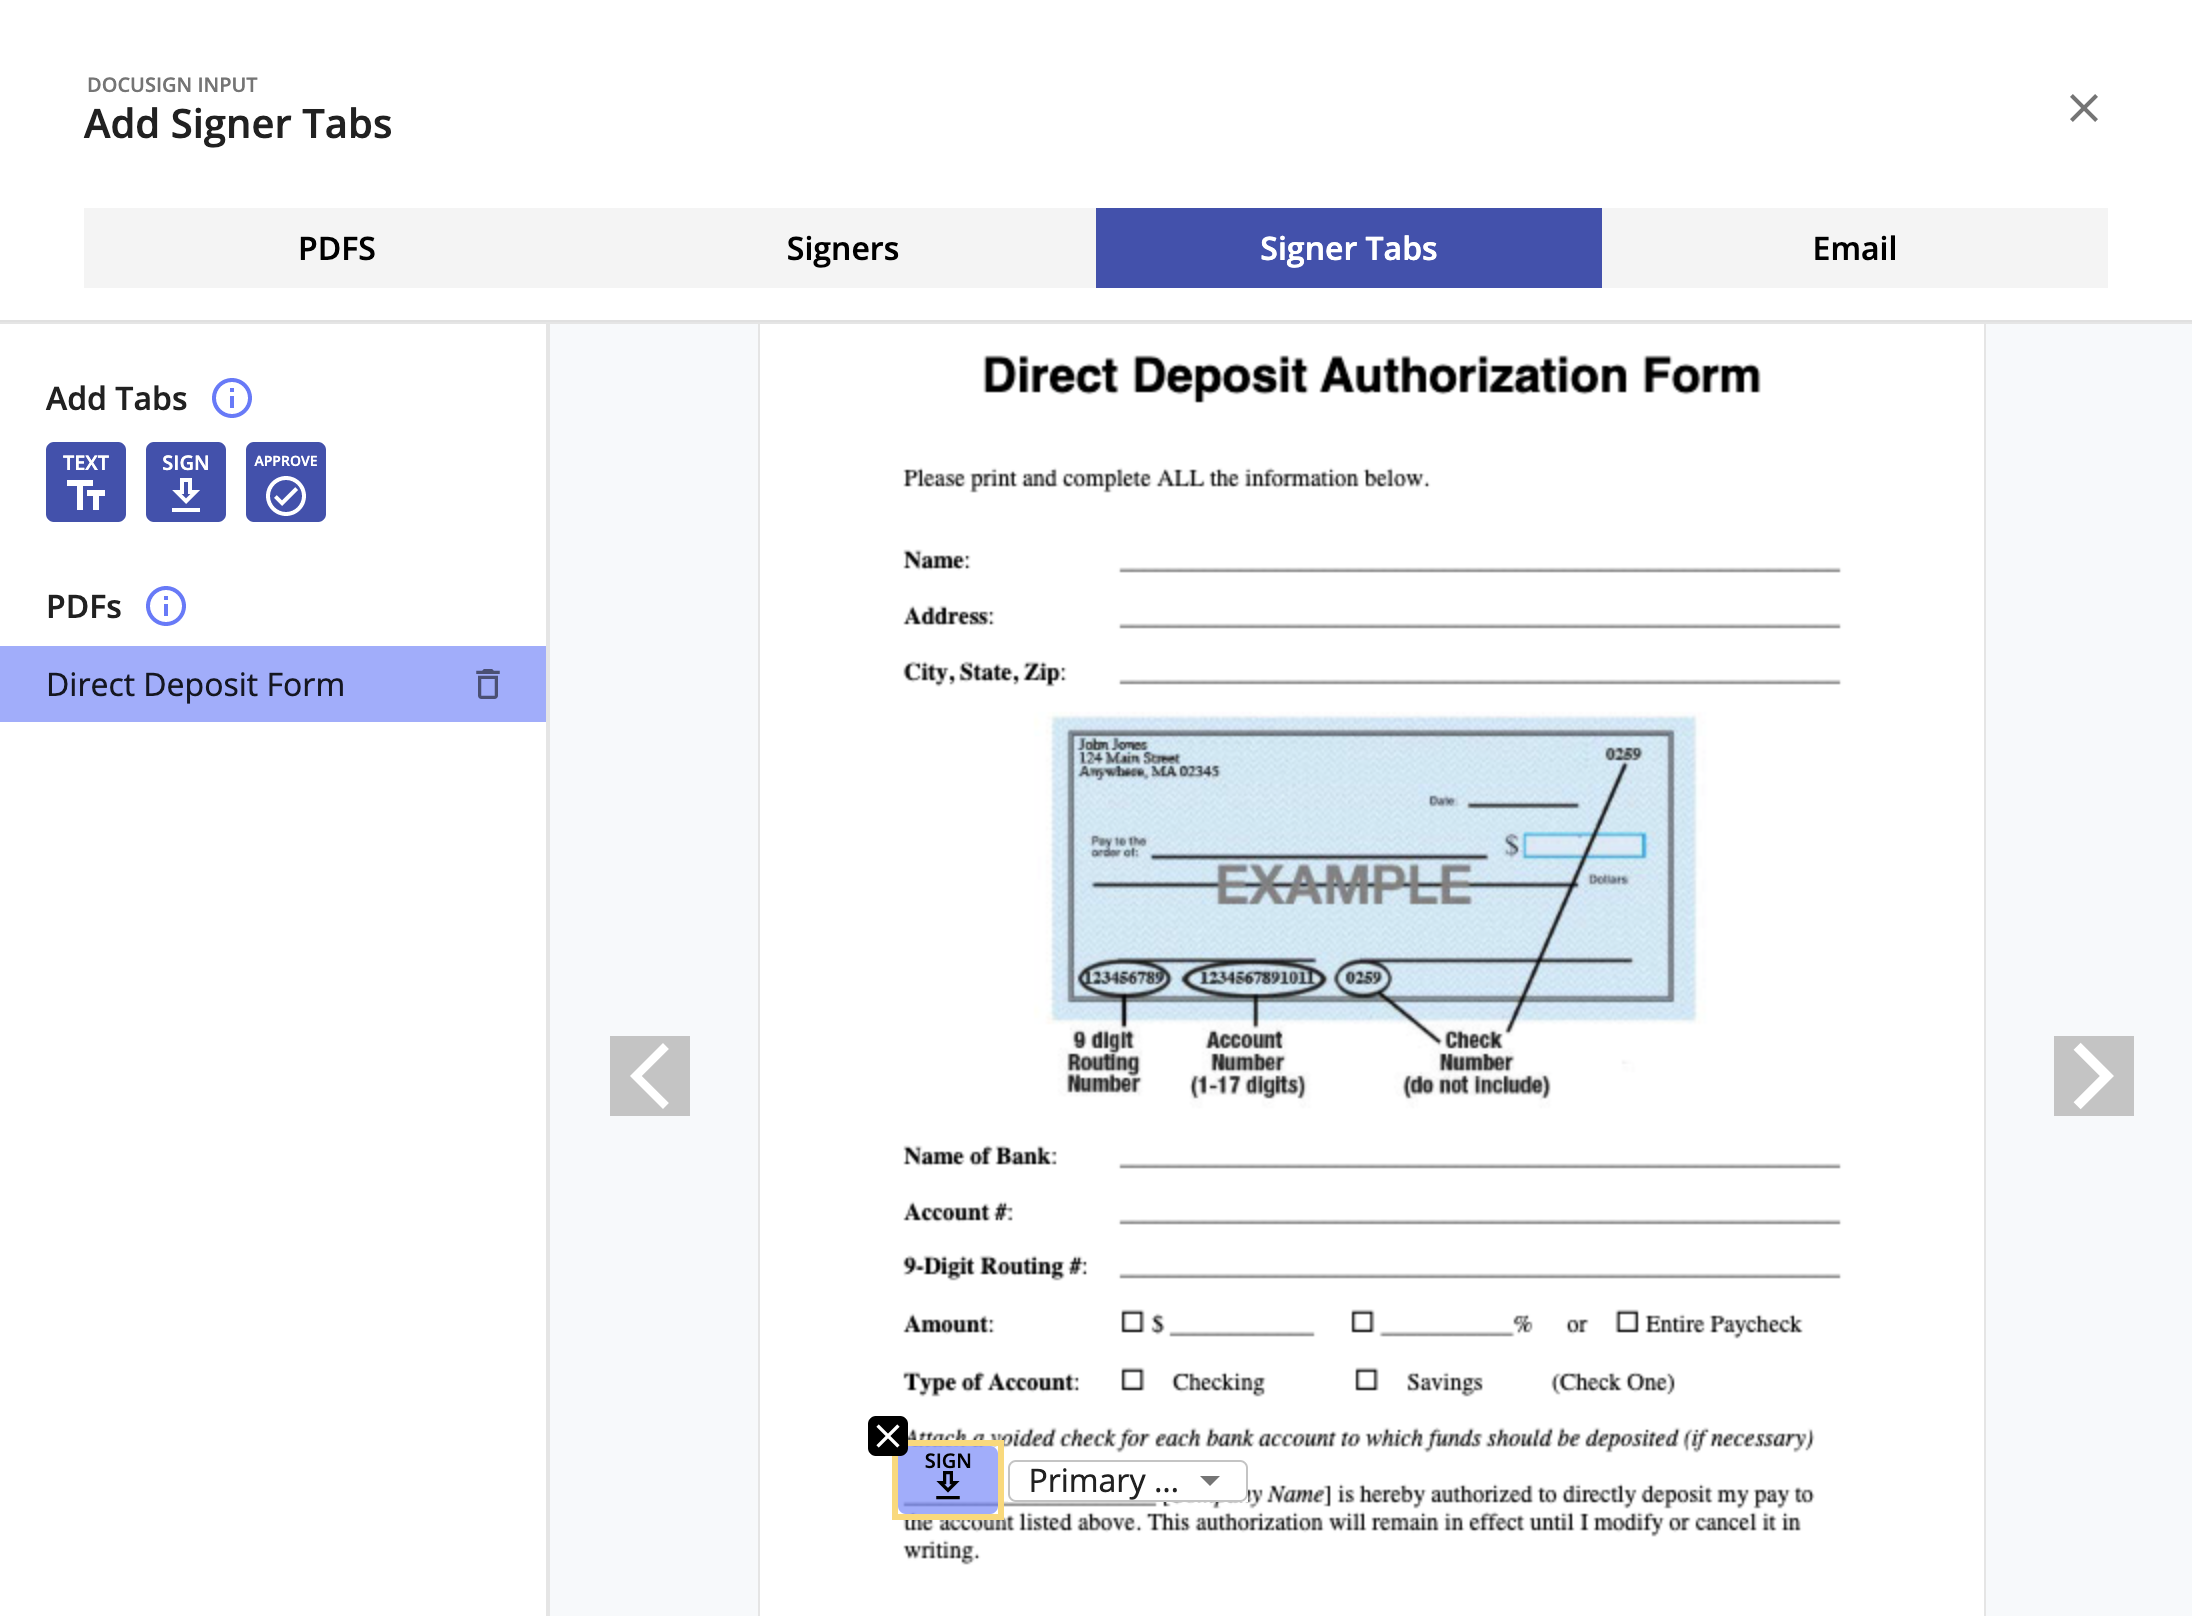
A signer tab is an input that will appear when the user opens up the actual DocuSign interface.
-
In the left-hand column, you will see three tab icons and a list of PDFs that you have added.
-
Click on the PDF that you want to add tabs to. A preview of the PDF will display on the right.
-
Click on the tab icon that you want to add to your PDF.
- If you see any error messages during this process, go back to the PDFs or Signers tabs to fix those issues by adding PDFs/signers.
Type | Description |
|---|---|
Text | Adds a tab for text input, for general purpose information entry |
Sign | Adds a signature input requesting the user's signature |
Approve | Adds a button for the user to click on to approve/agree with a statement |
- Click directly on the document where you want to place that tab. A tab input will appear on the document
- If you do not like where a tab input is located, you can drag and drop it to move it around.
-
To change the signer associated with the tab input, click the dropdown in the tab input and choose from the list of signers.
-
Add as many tabs as you need until the the PDF is properly set up!
-
To delete a tab, simply click on it to select it and then click the 'X' button.
-
Repeat for the other PDFs.
- In order for the DocuSign input to be fully configured, you must add at least one tab to each PDF.
And you're done! Your DocuSign input is fully configured.
Using results in an application
Updated 4 months ago